This was my first “MOC” of any significant size. And wow did the size get significant.
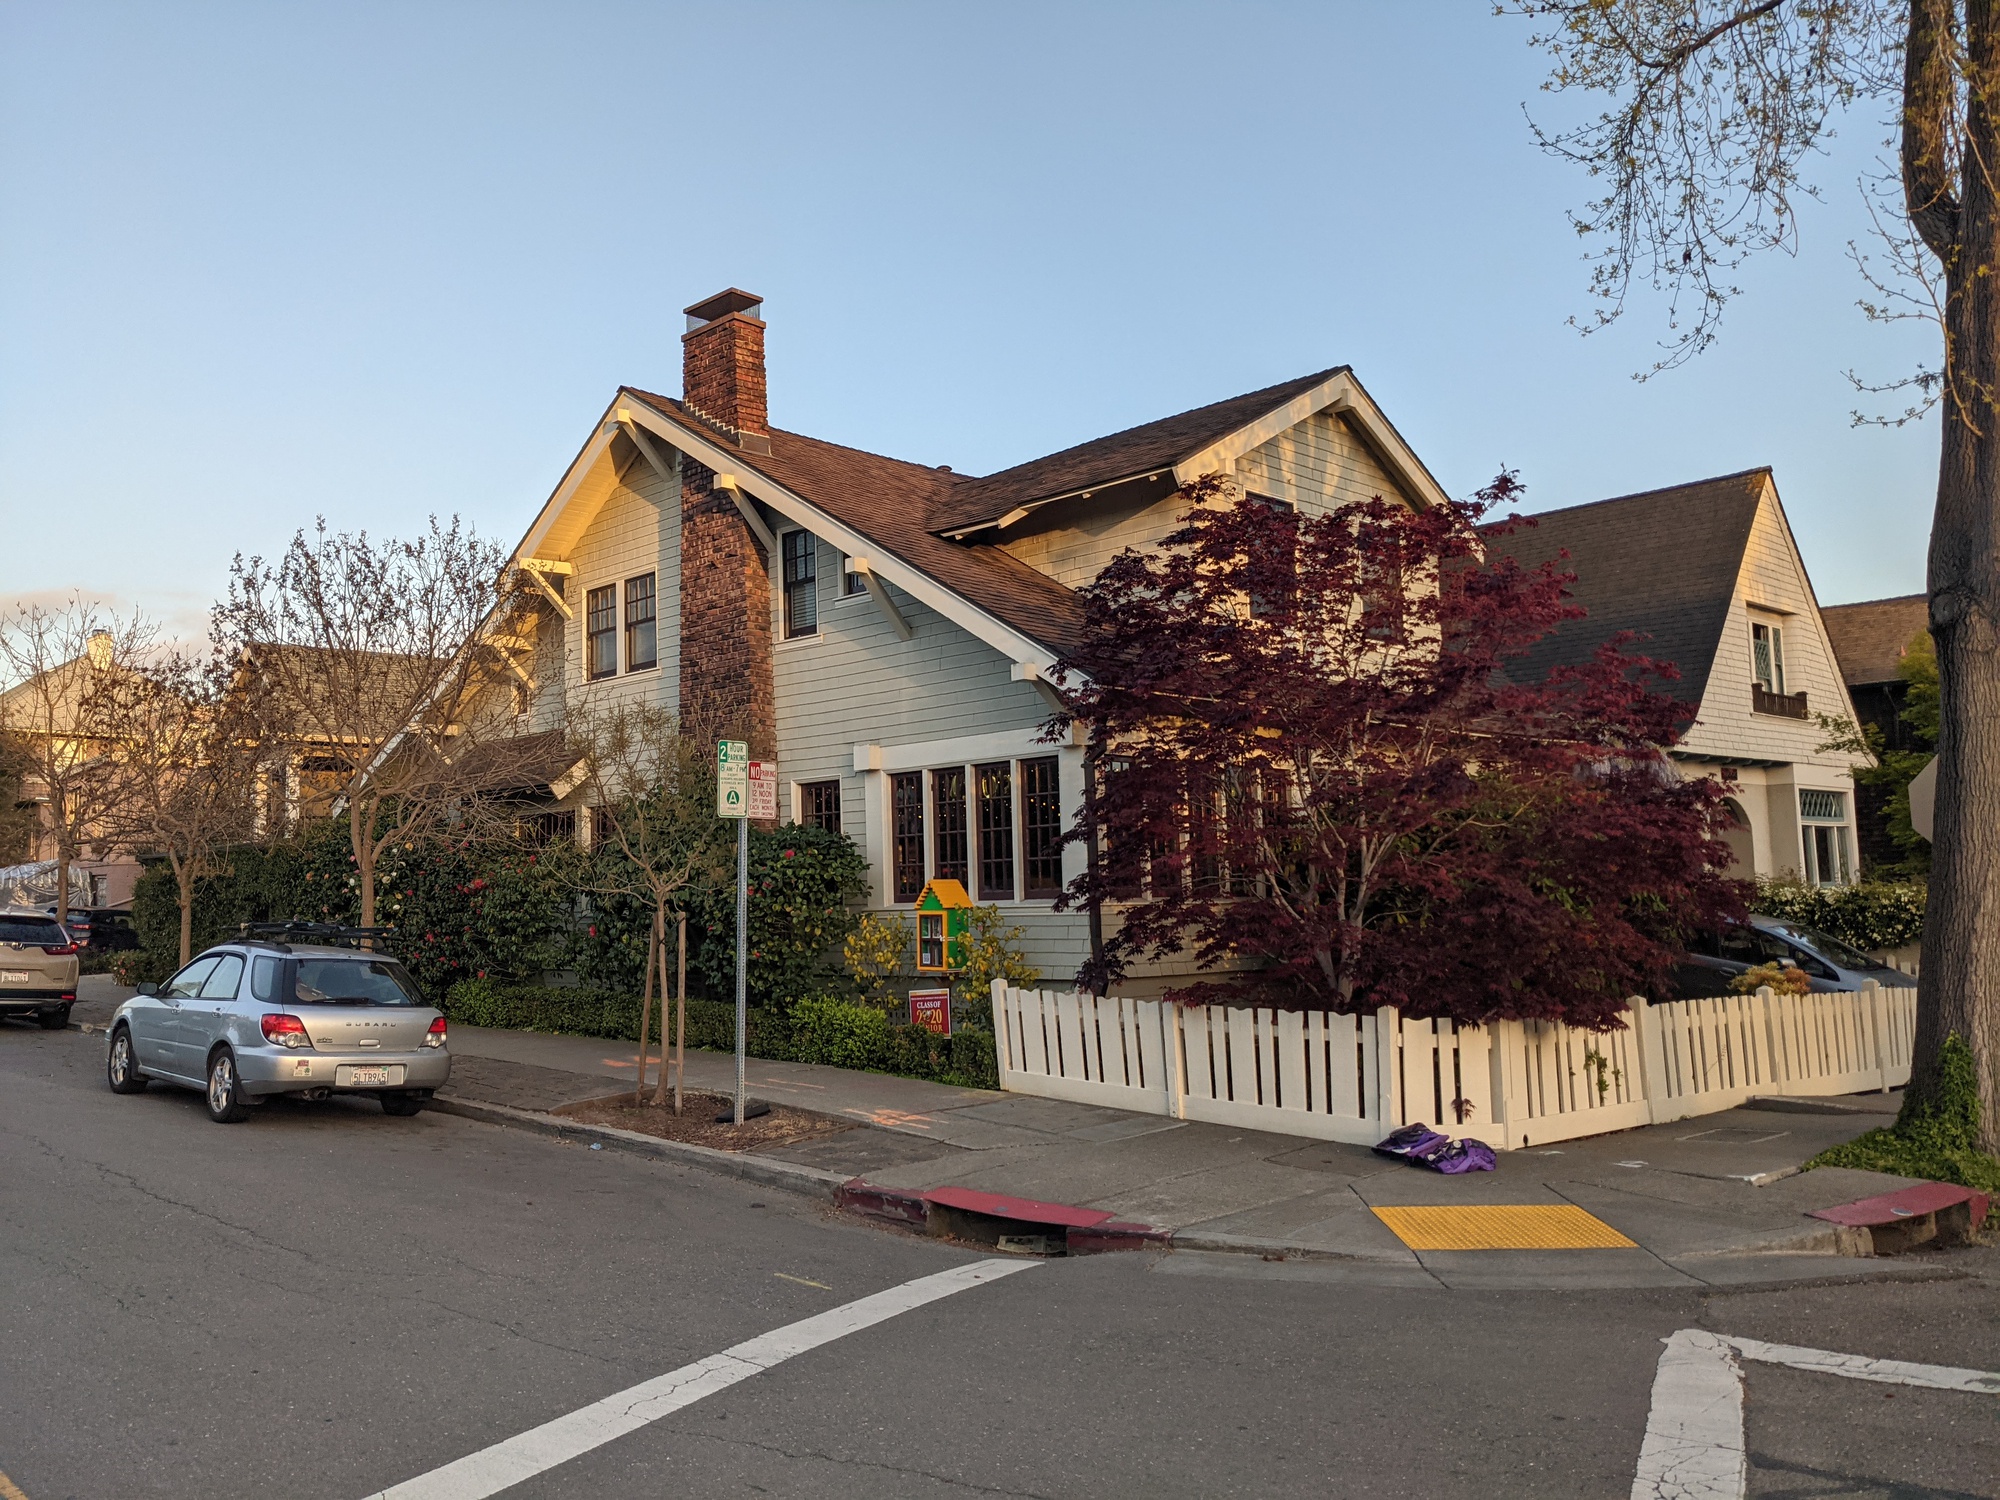
I was originally inspired to attempt building a model of our house after my brother completed a model of his row house in Washington, DC, and, later, the Basilica of the National Shrine of the Immaculate Conception. I started working on it in earnest after the COVID lockdown started when I was itching for something to do.
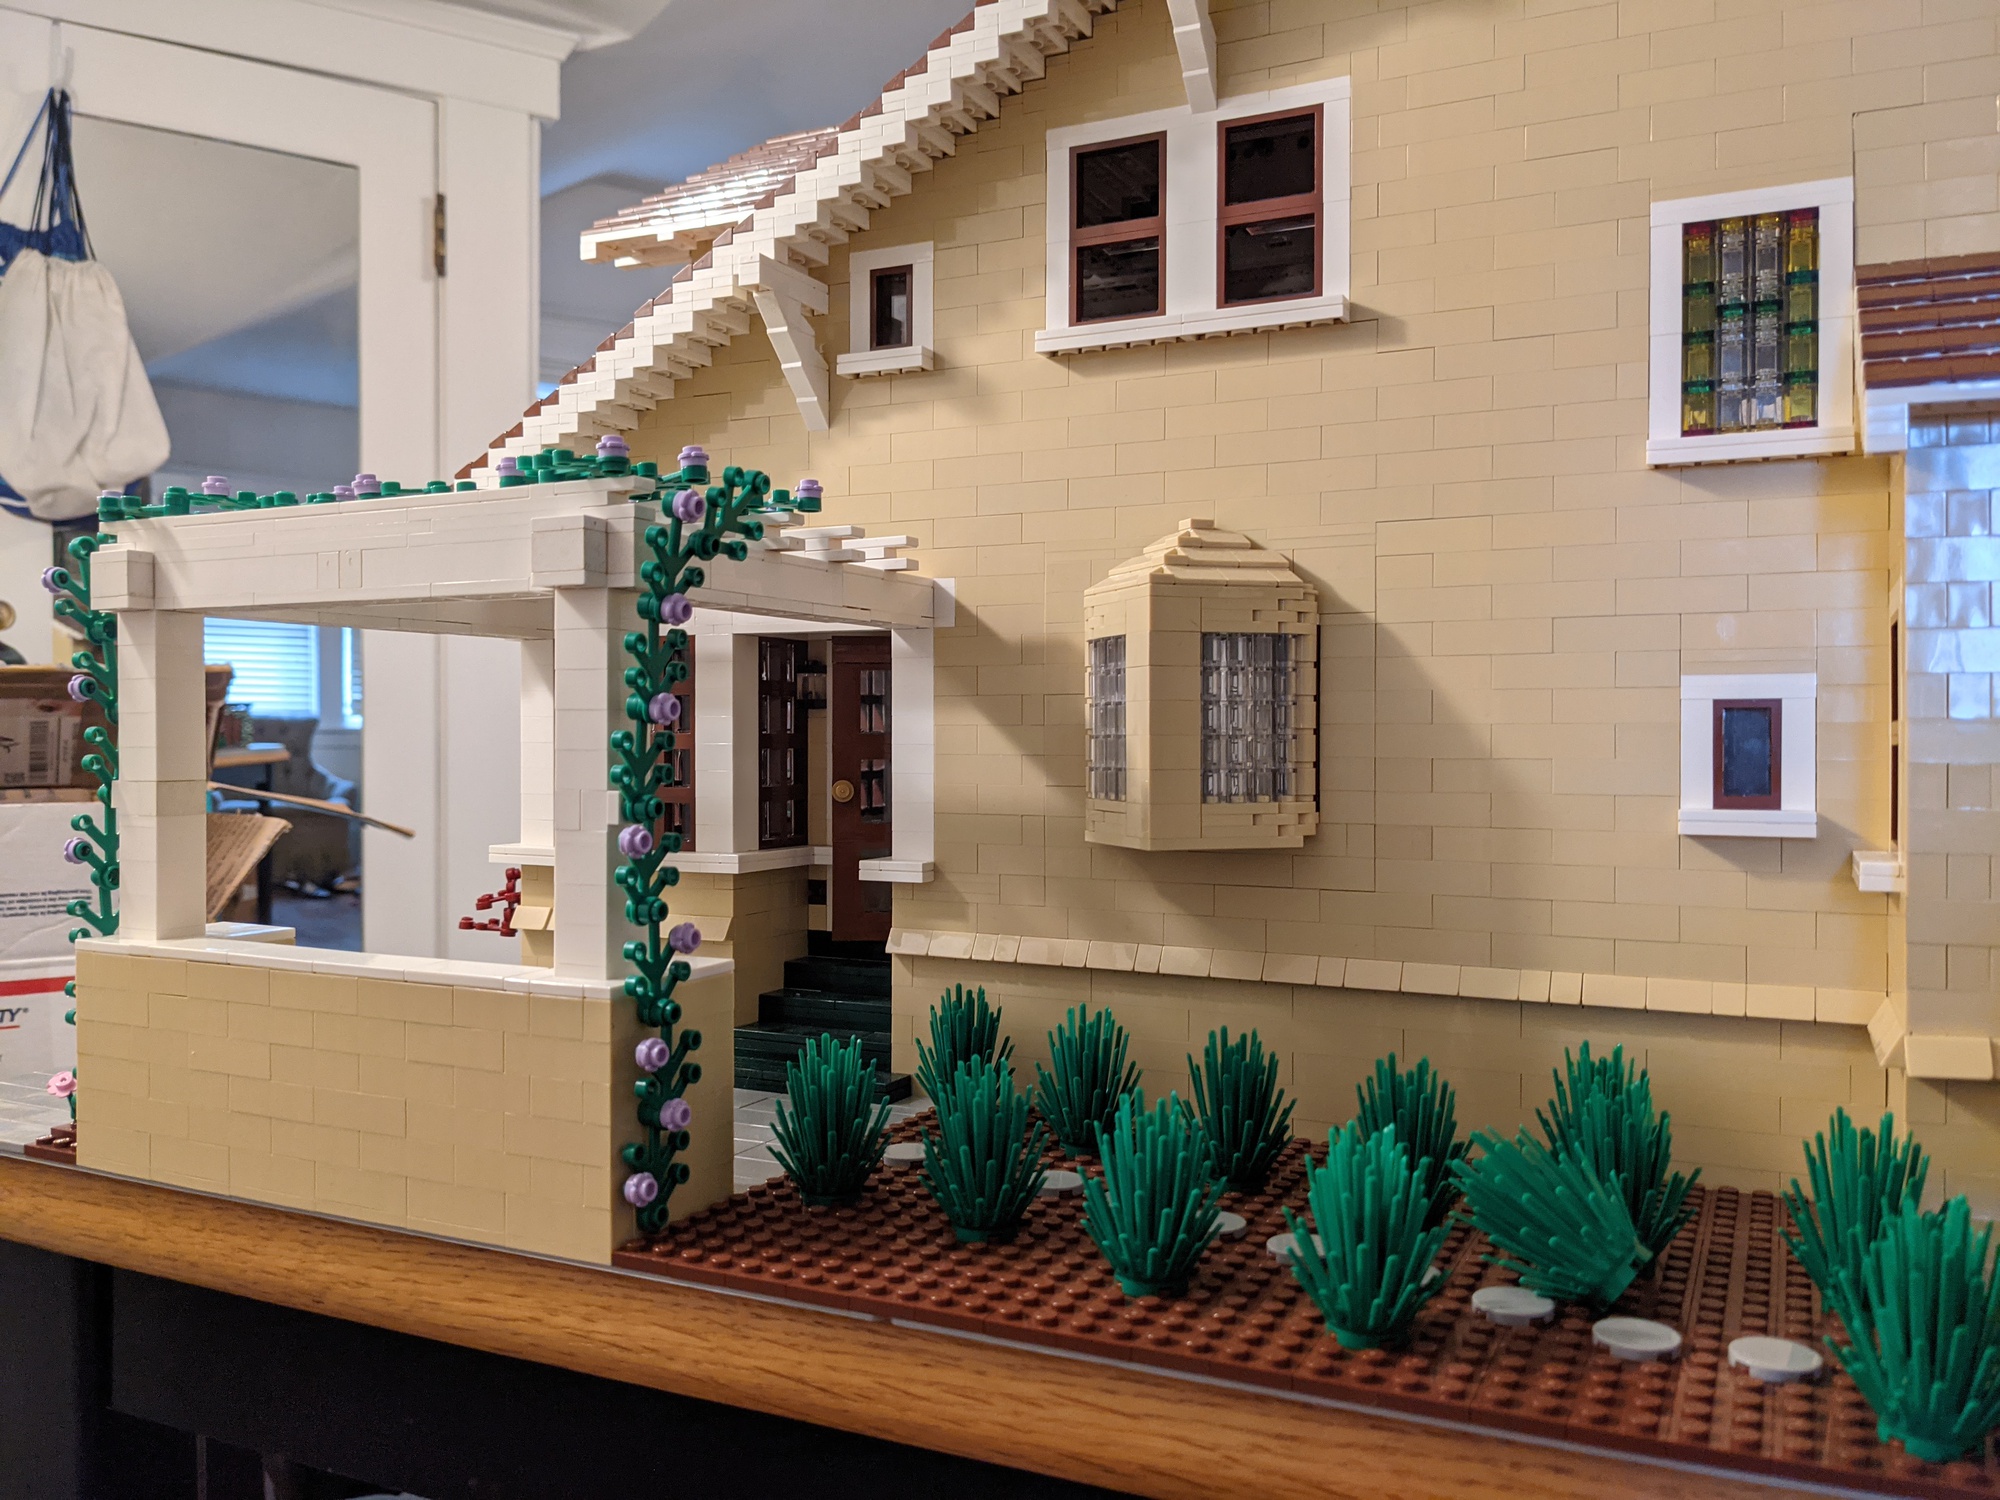
I started by creating a couple of a small models in BrickLink Studio (my first time using this software) and then some very tiny prototypes. I really wanted to get the windows on the front of the house looking right, and that ended up dictating the scale of the rest of the model. 5 mm in the model (each LEGO “stud” lies in the middle of a 5 mm x 5 mm square) represents 6 in. in real life; this works out to a scale of 1:30½.
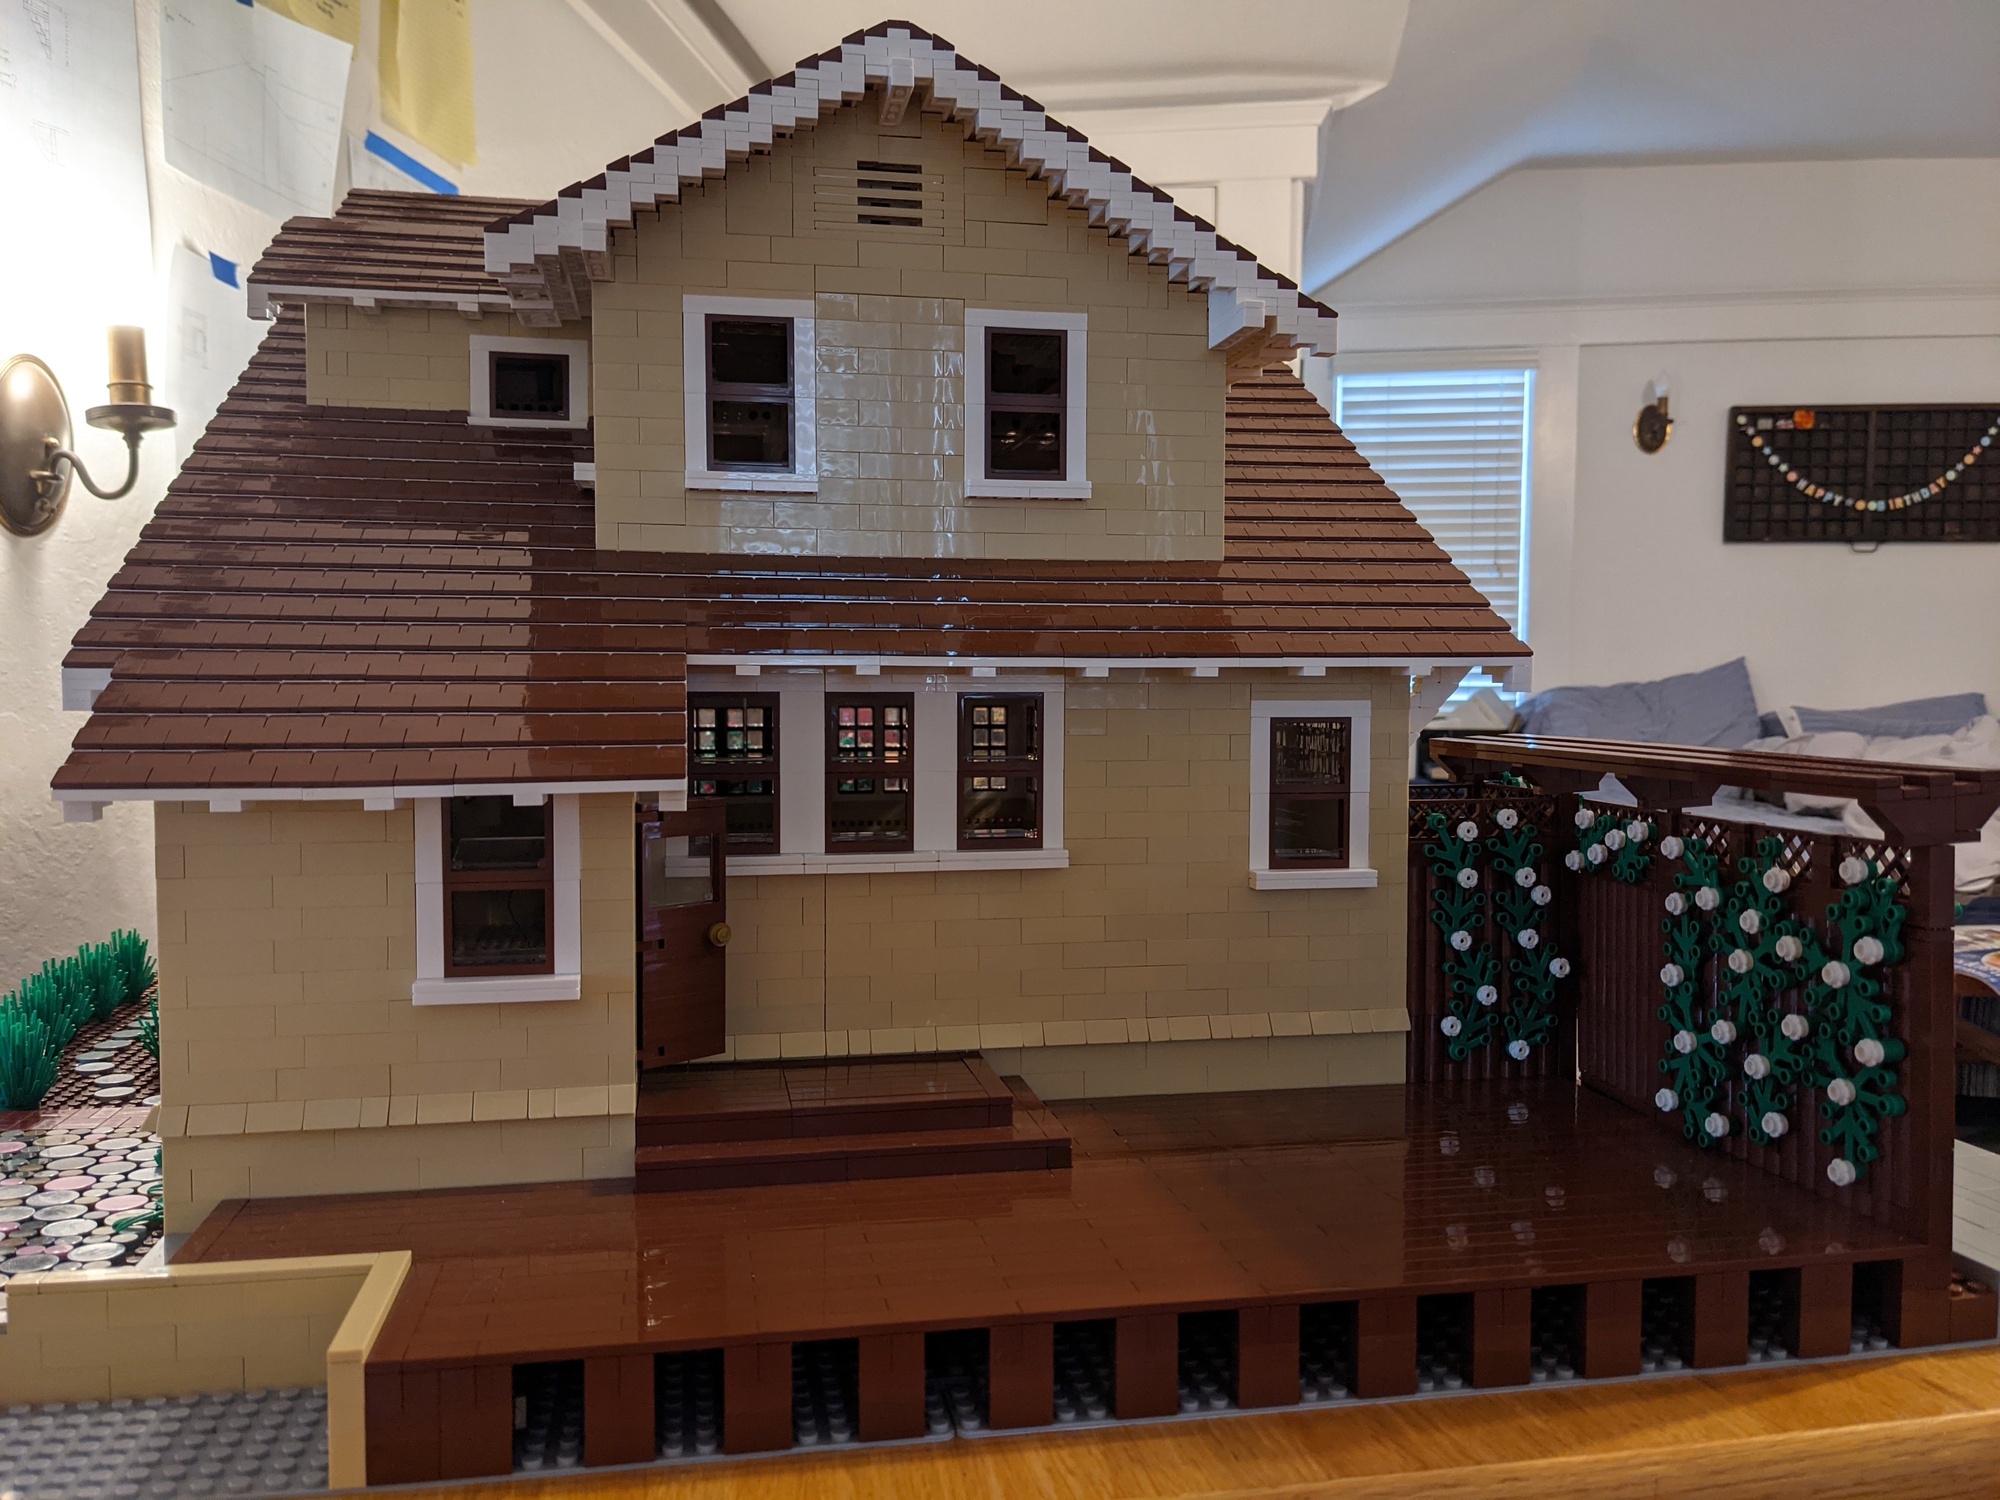
The model took about four months to complete and contains an estimated 15,000 pieces. A lot of the time was spent waiting for shipments of bricks to arrive from around the world. I never created a full digital model of the house, opting instead for trial-and-error and pencil-and-paper calculations, and I deferred the design of some components until the earlier components were substantially completed. As a result, I frequently over- and under-ordered on parts.
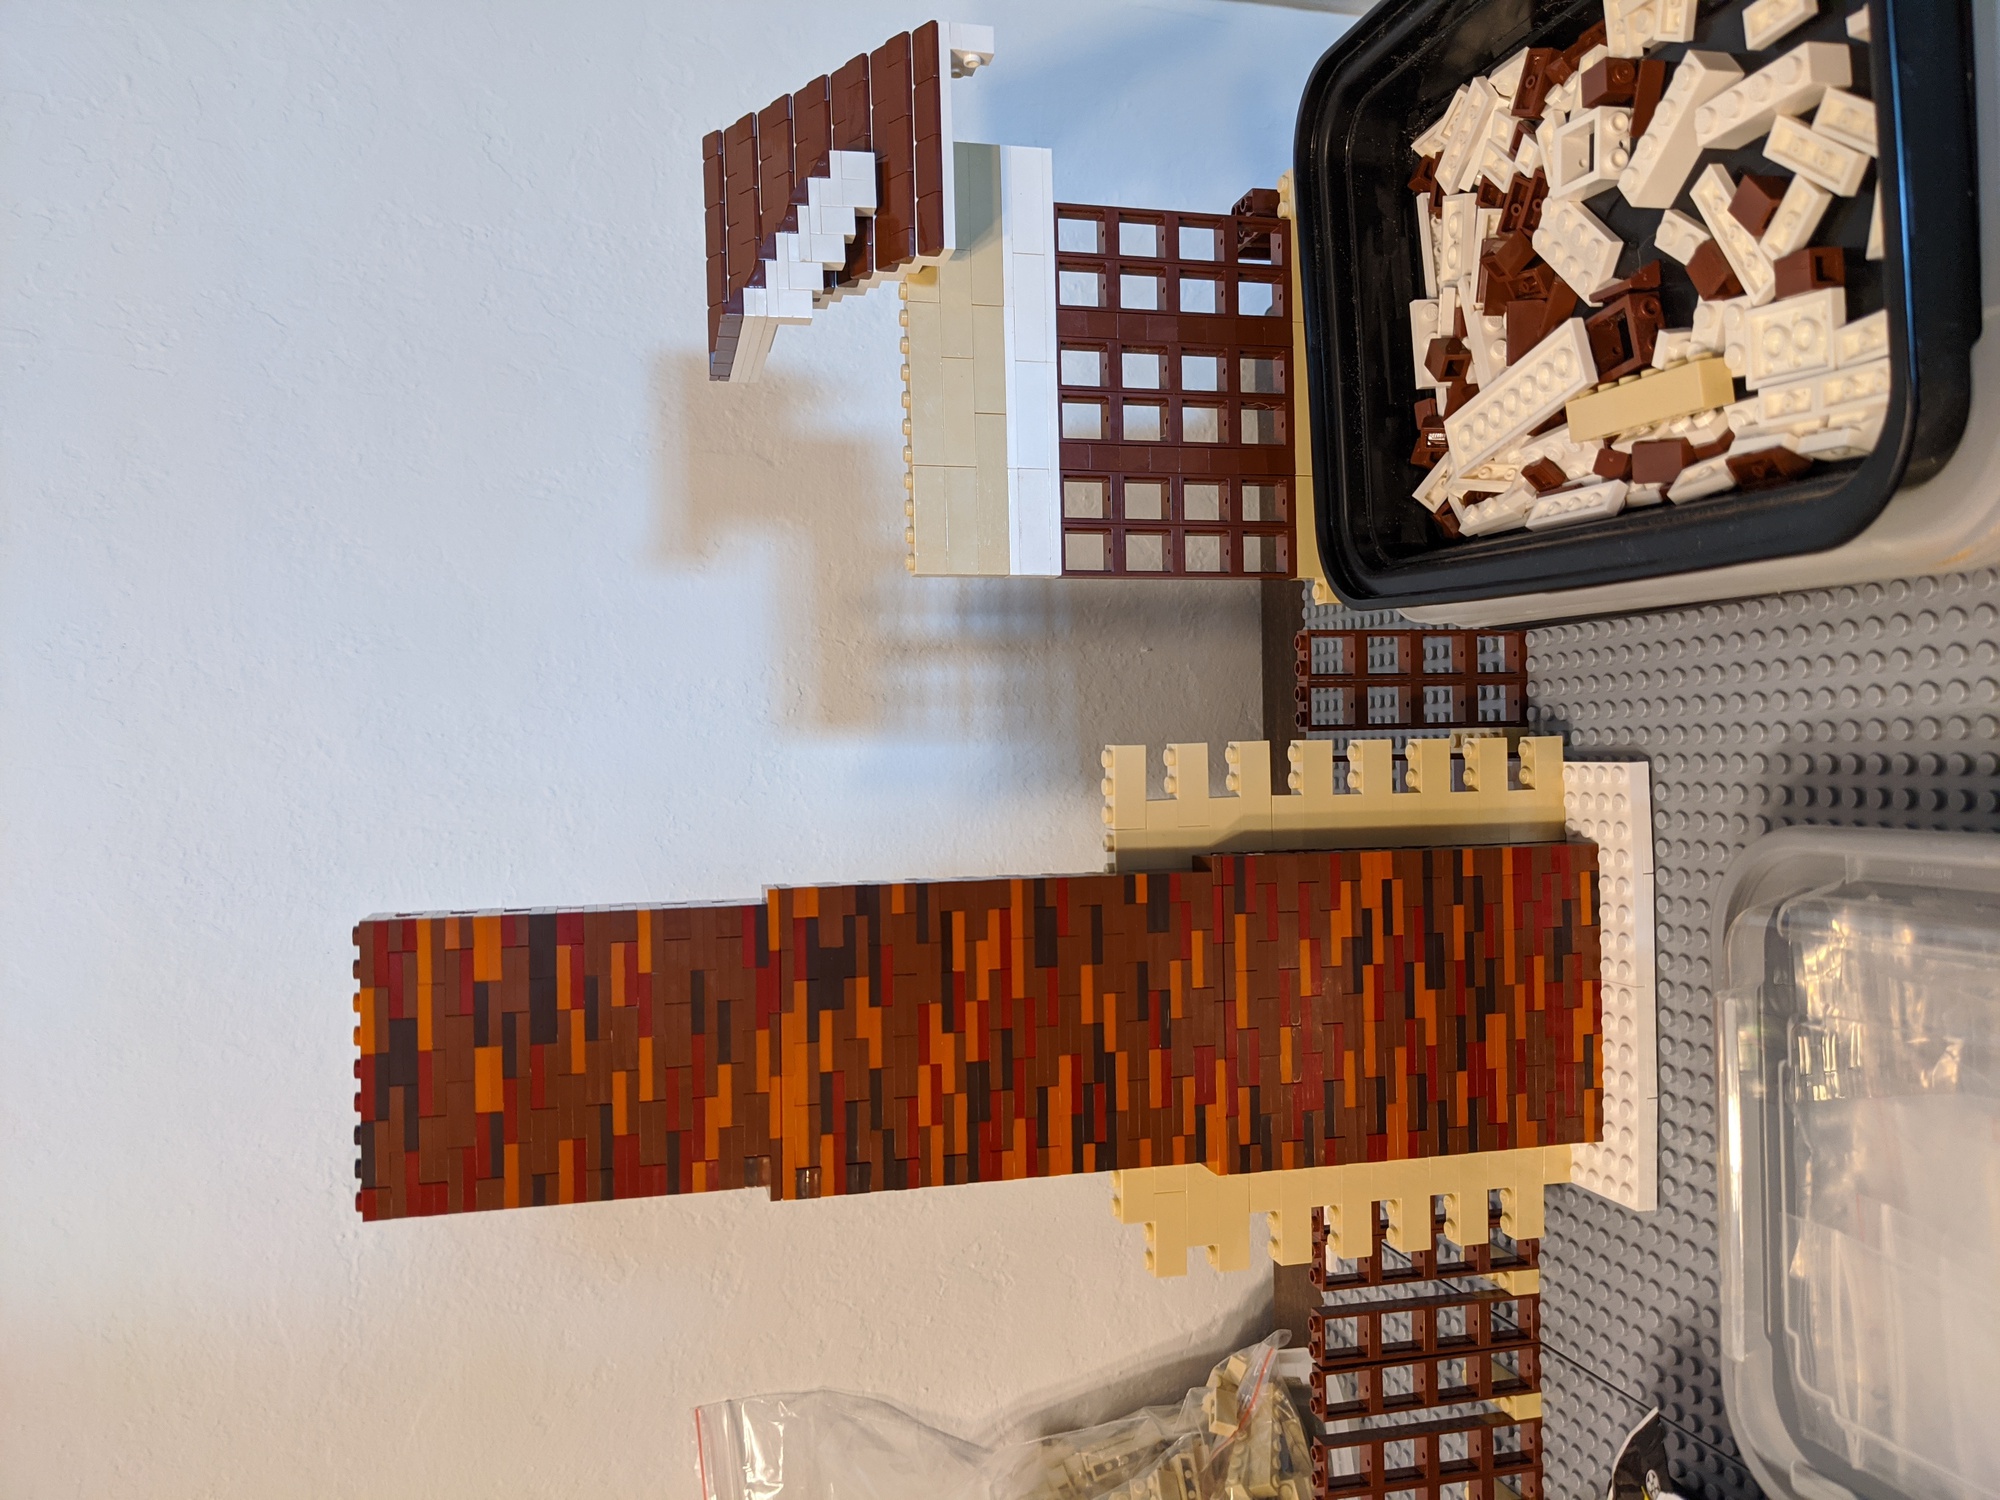
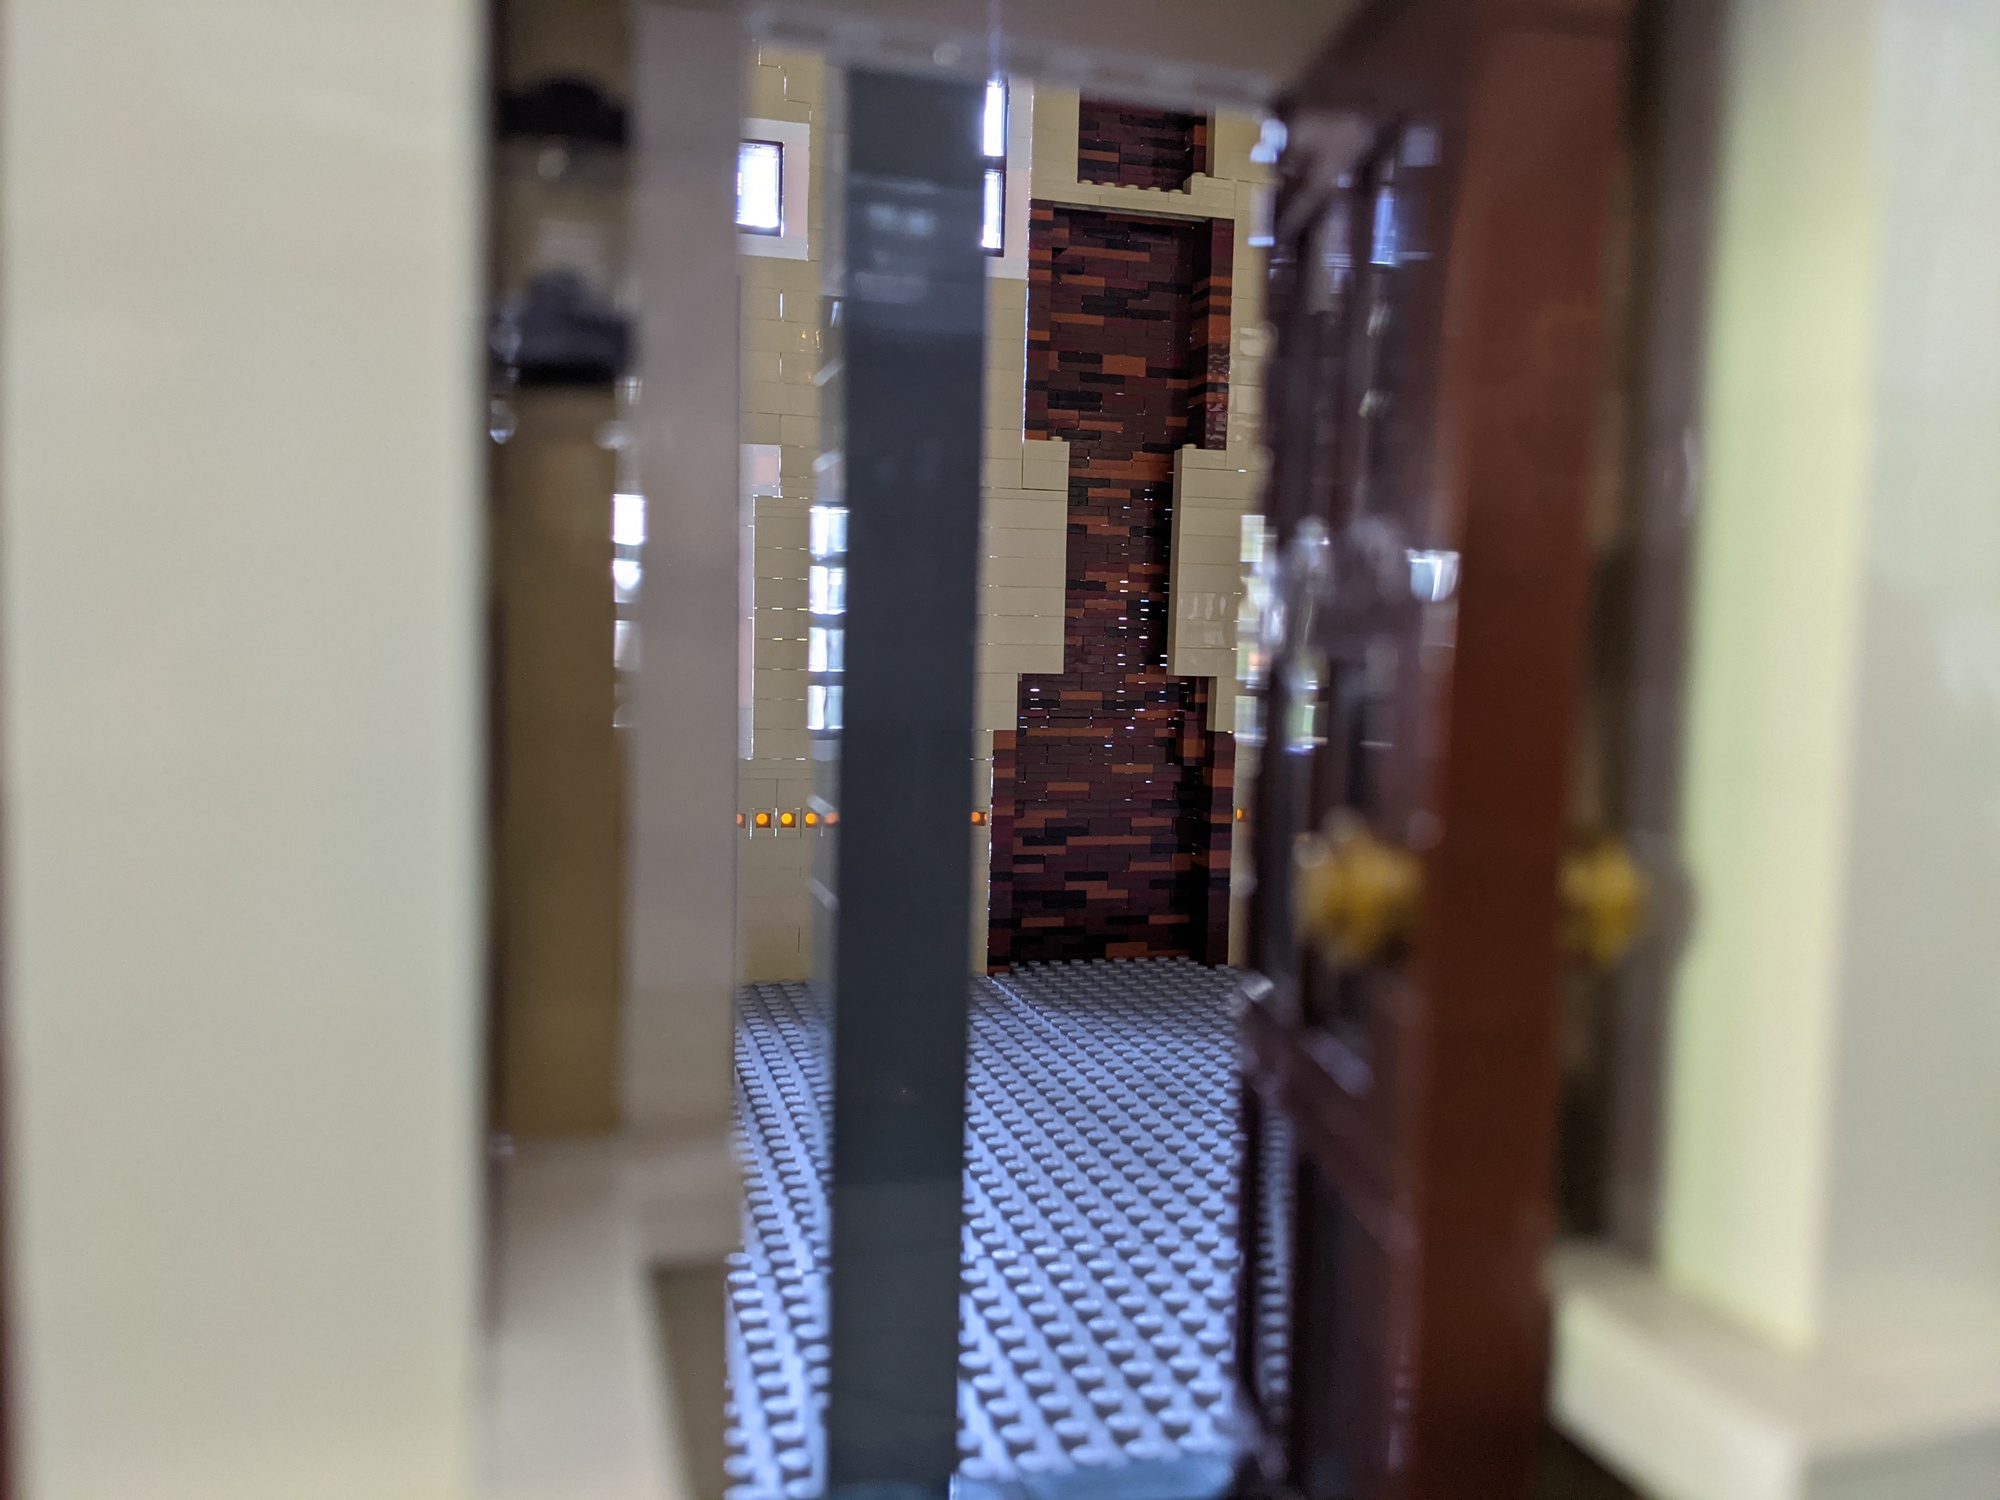
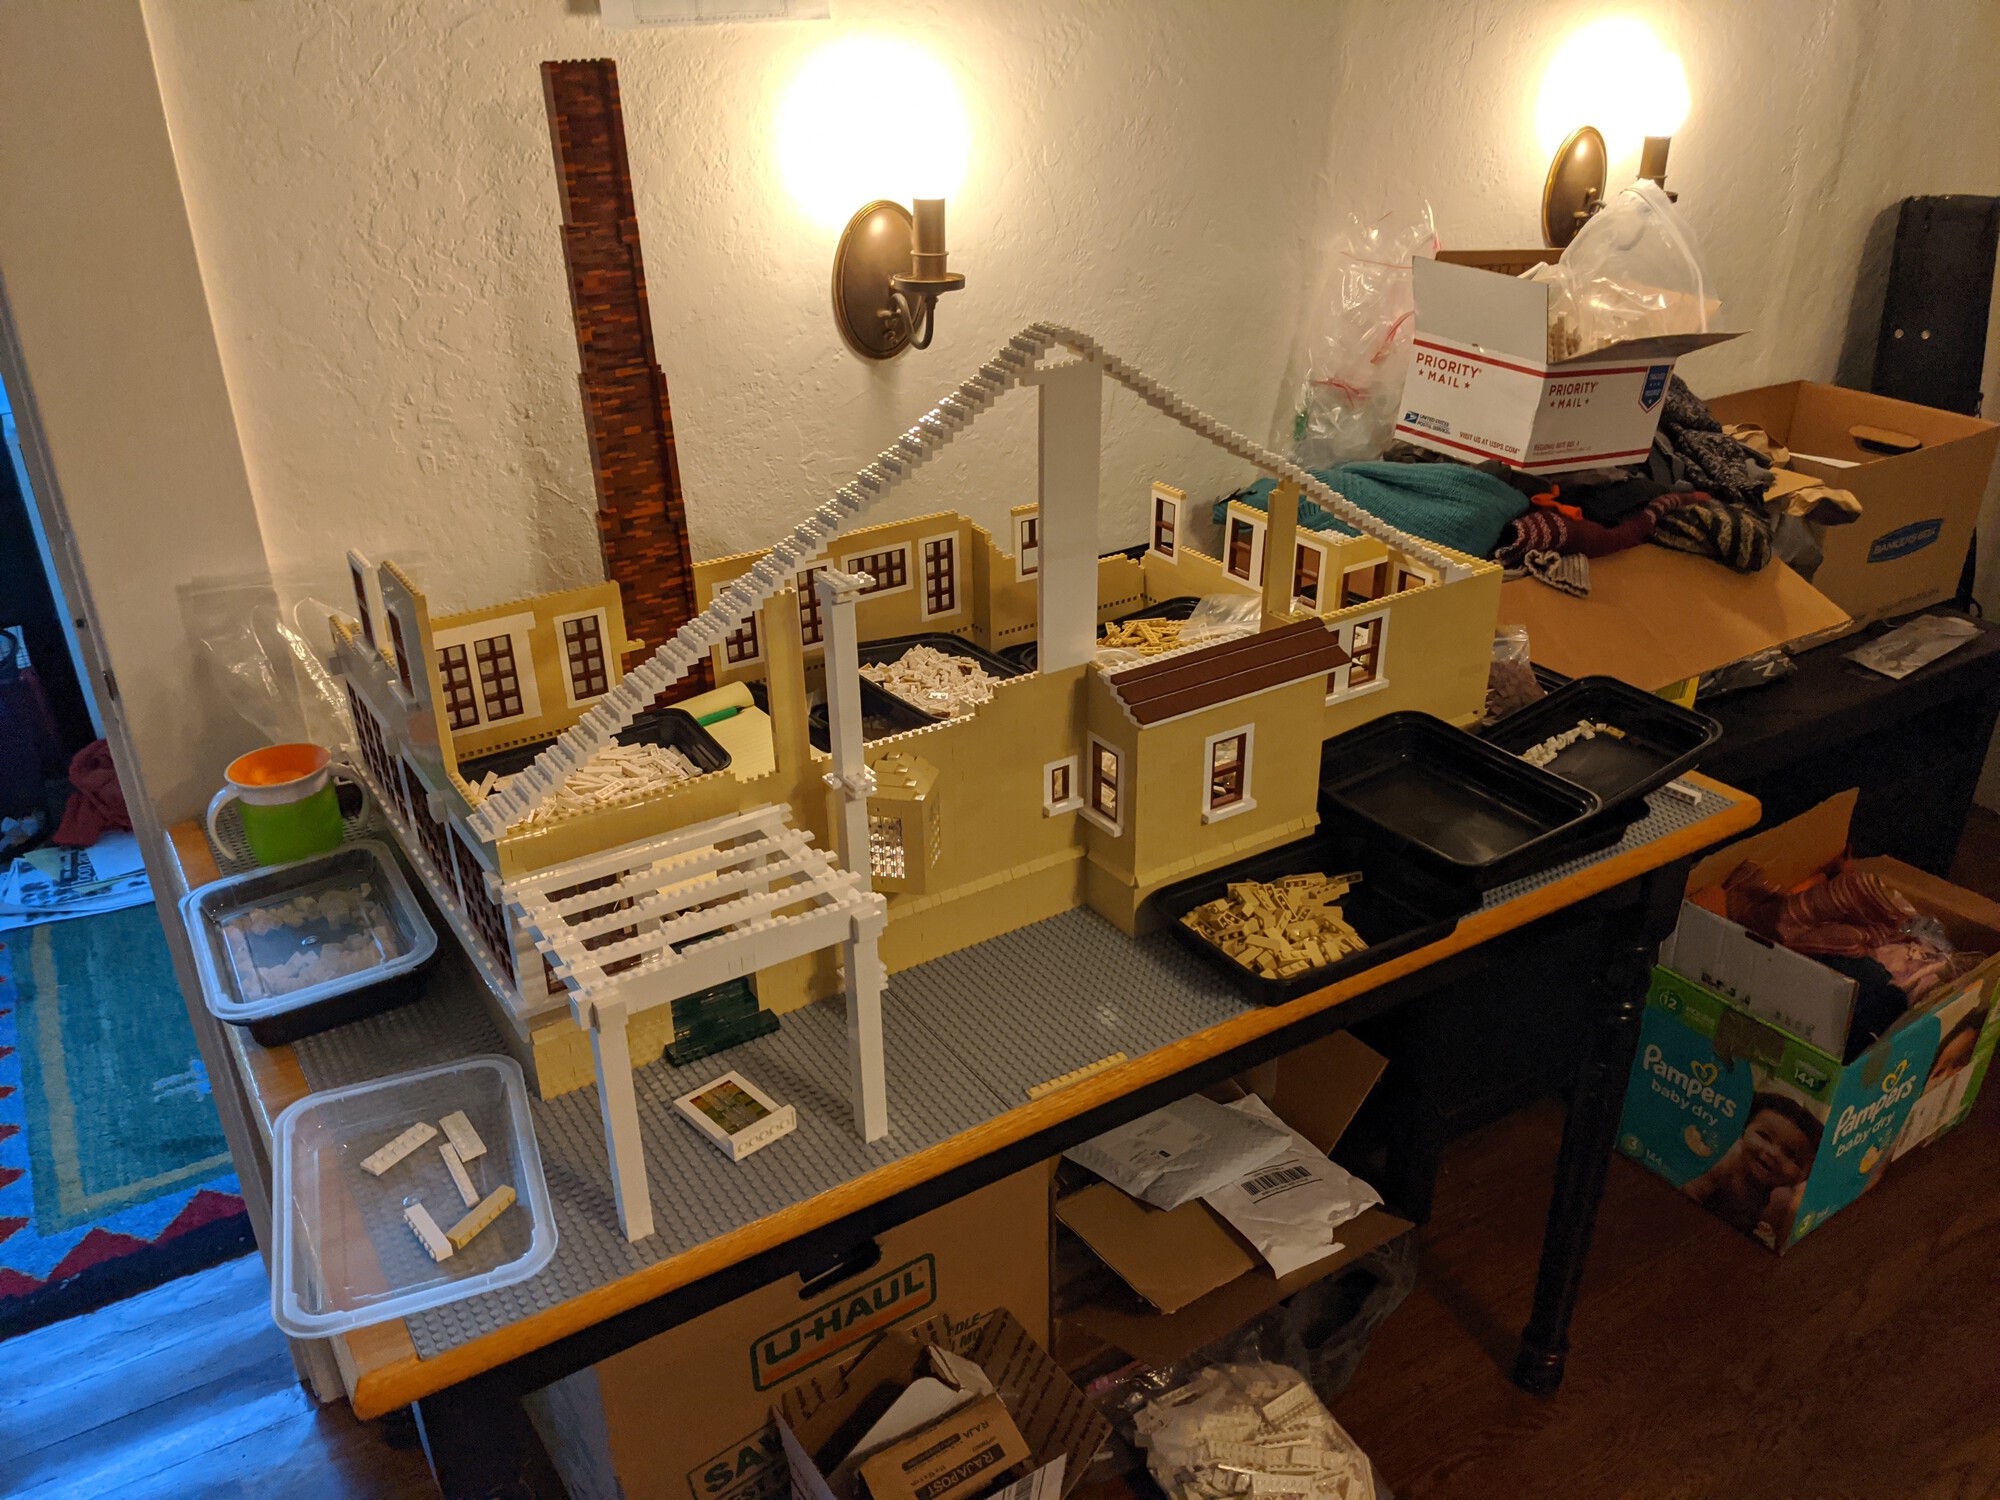
The chimney was one of the earlier components I designed and built. It uses a layer of “jumper” plates every twenty or so vertical layers so that the chimney gradually tapers towards the top. I really enjoyed experimenting with different colors to give the impression of rustic brick.

The window at the landing of the interior staircase was a particular challenge because it’s offset by 45° from the rest of the house. (I have been referring to this architectural element as a “bay window” but I suspect that’s not the correct term.) The recently-released “Plate, Round 1 x 2 with Two Open Studs” piece was very helpful for attaching the window to the house.
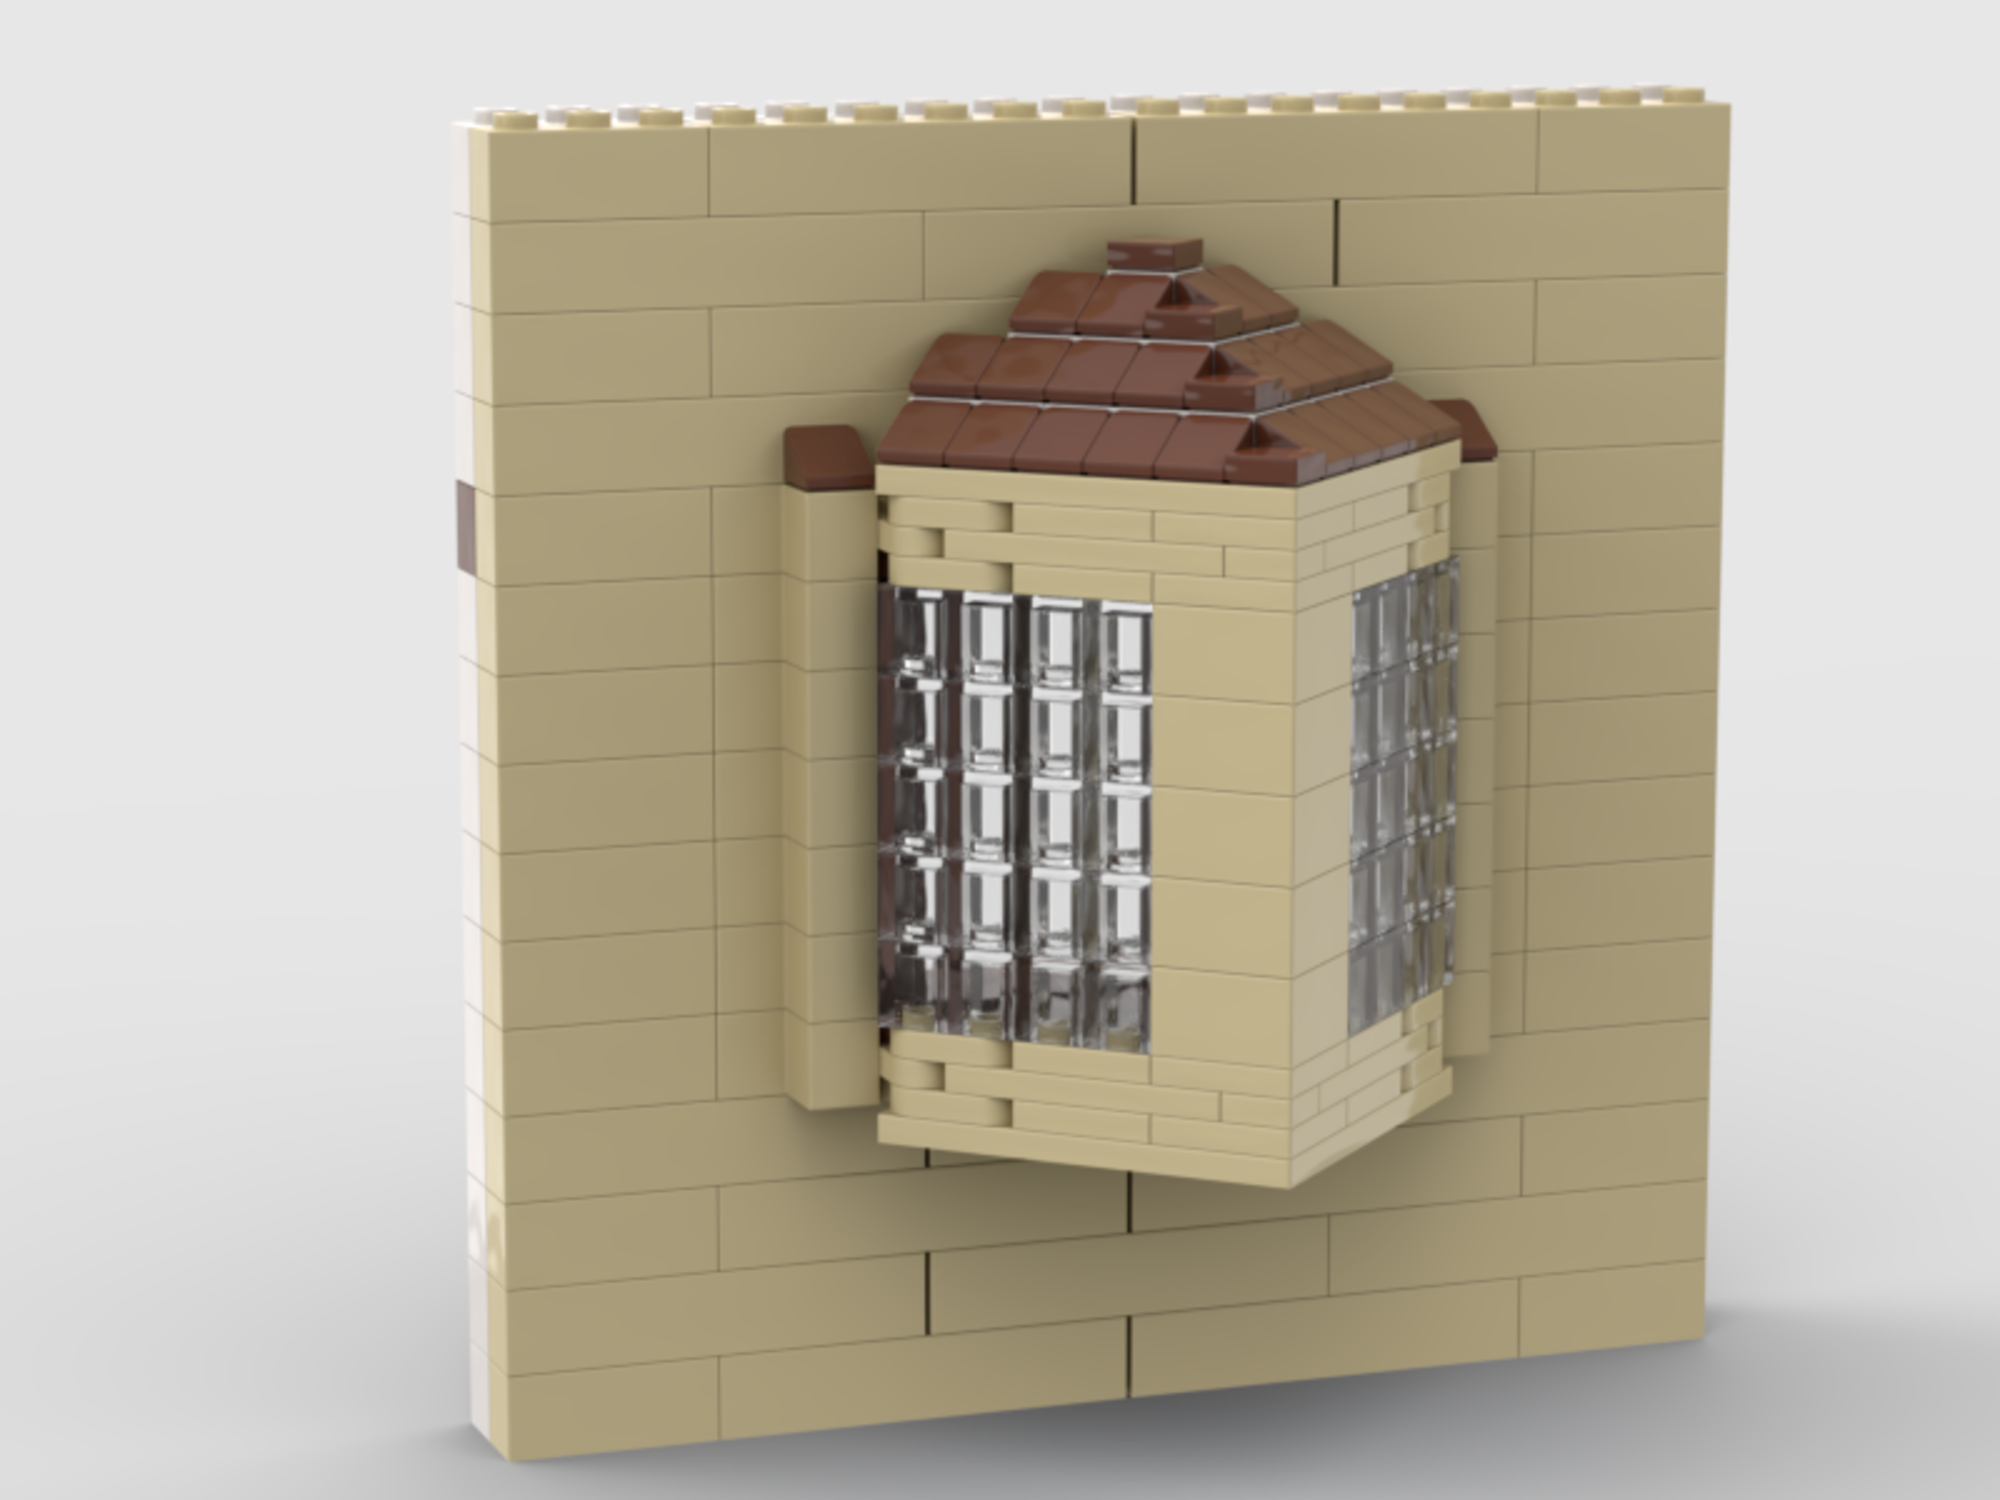


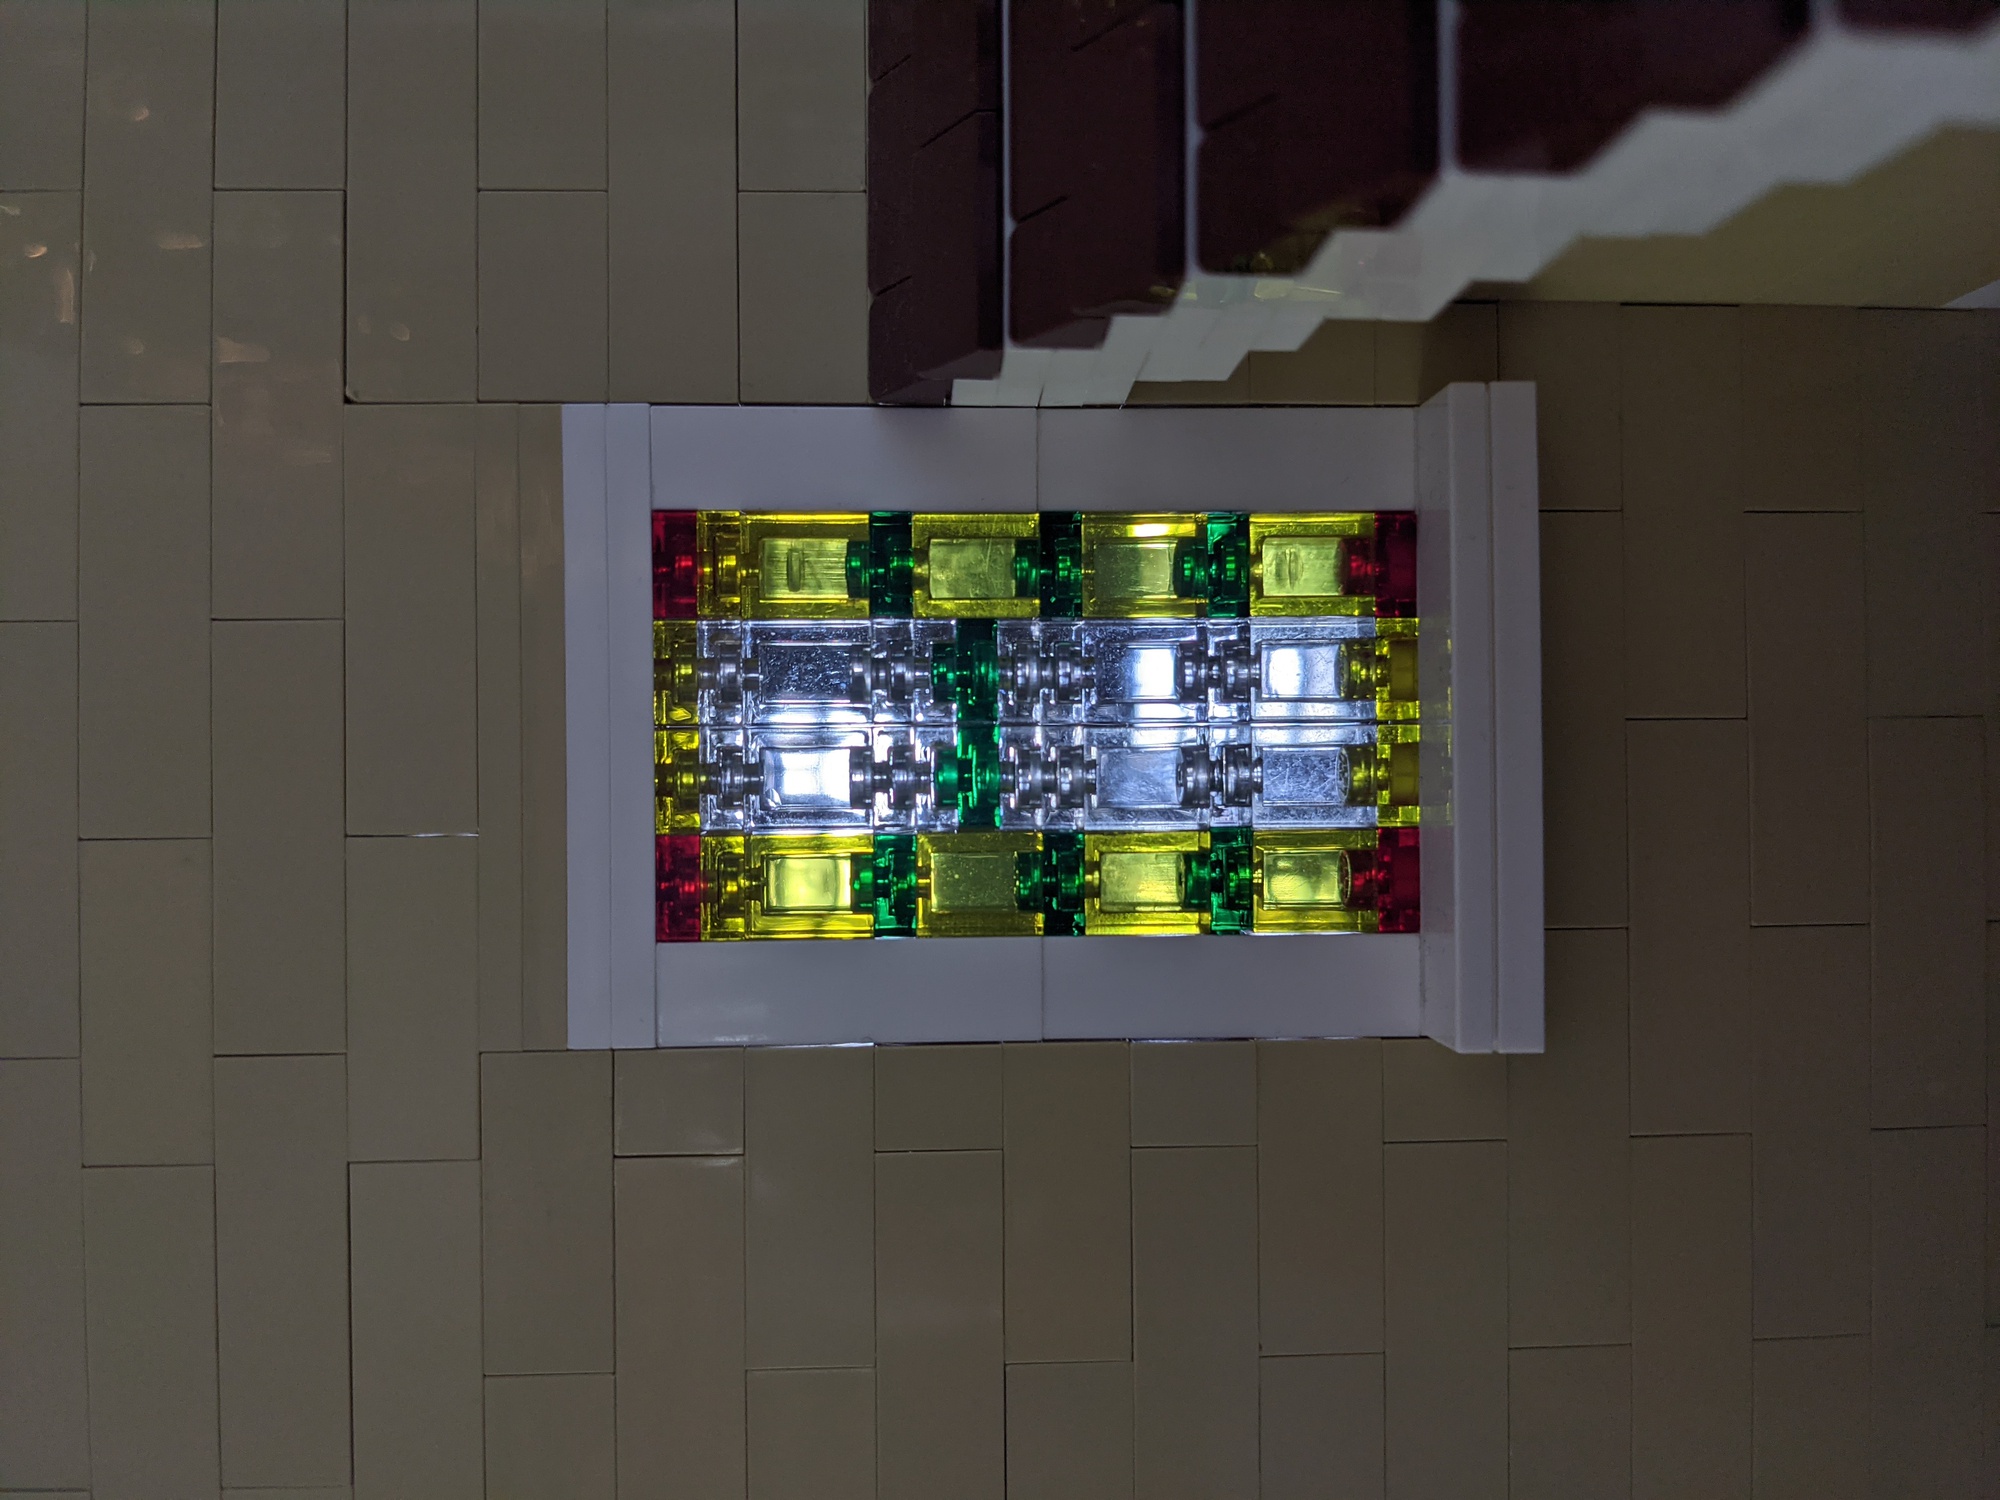
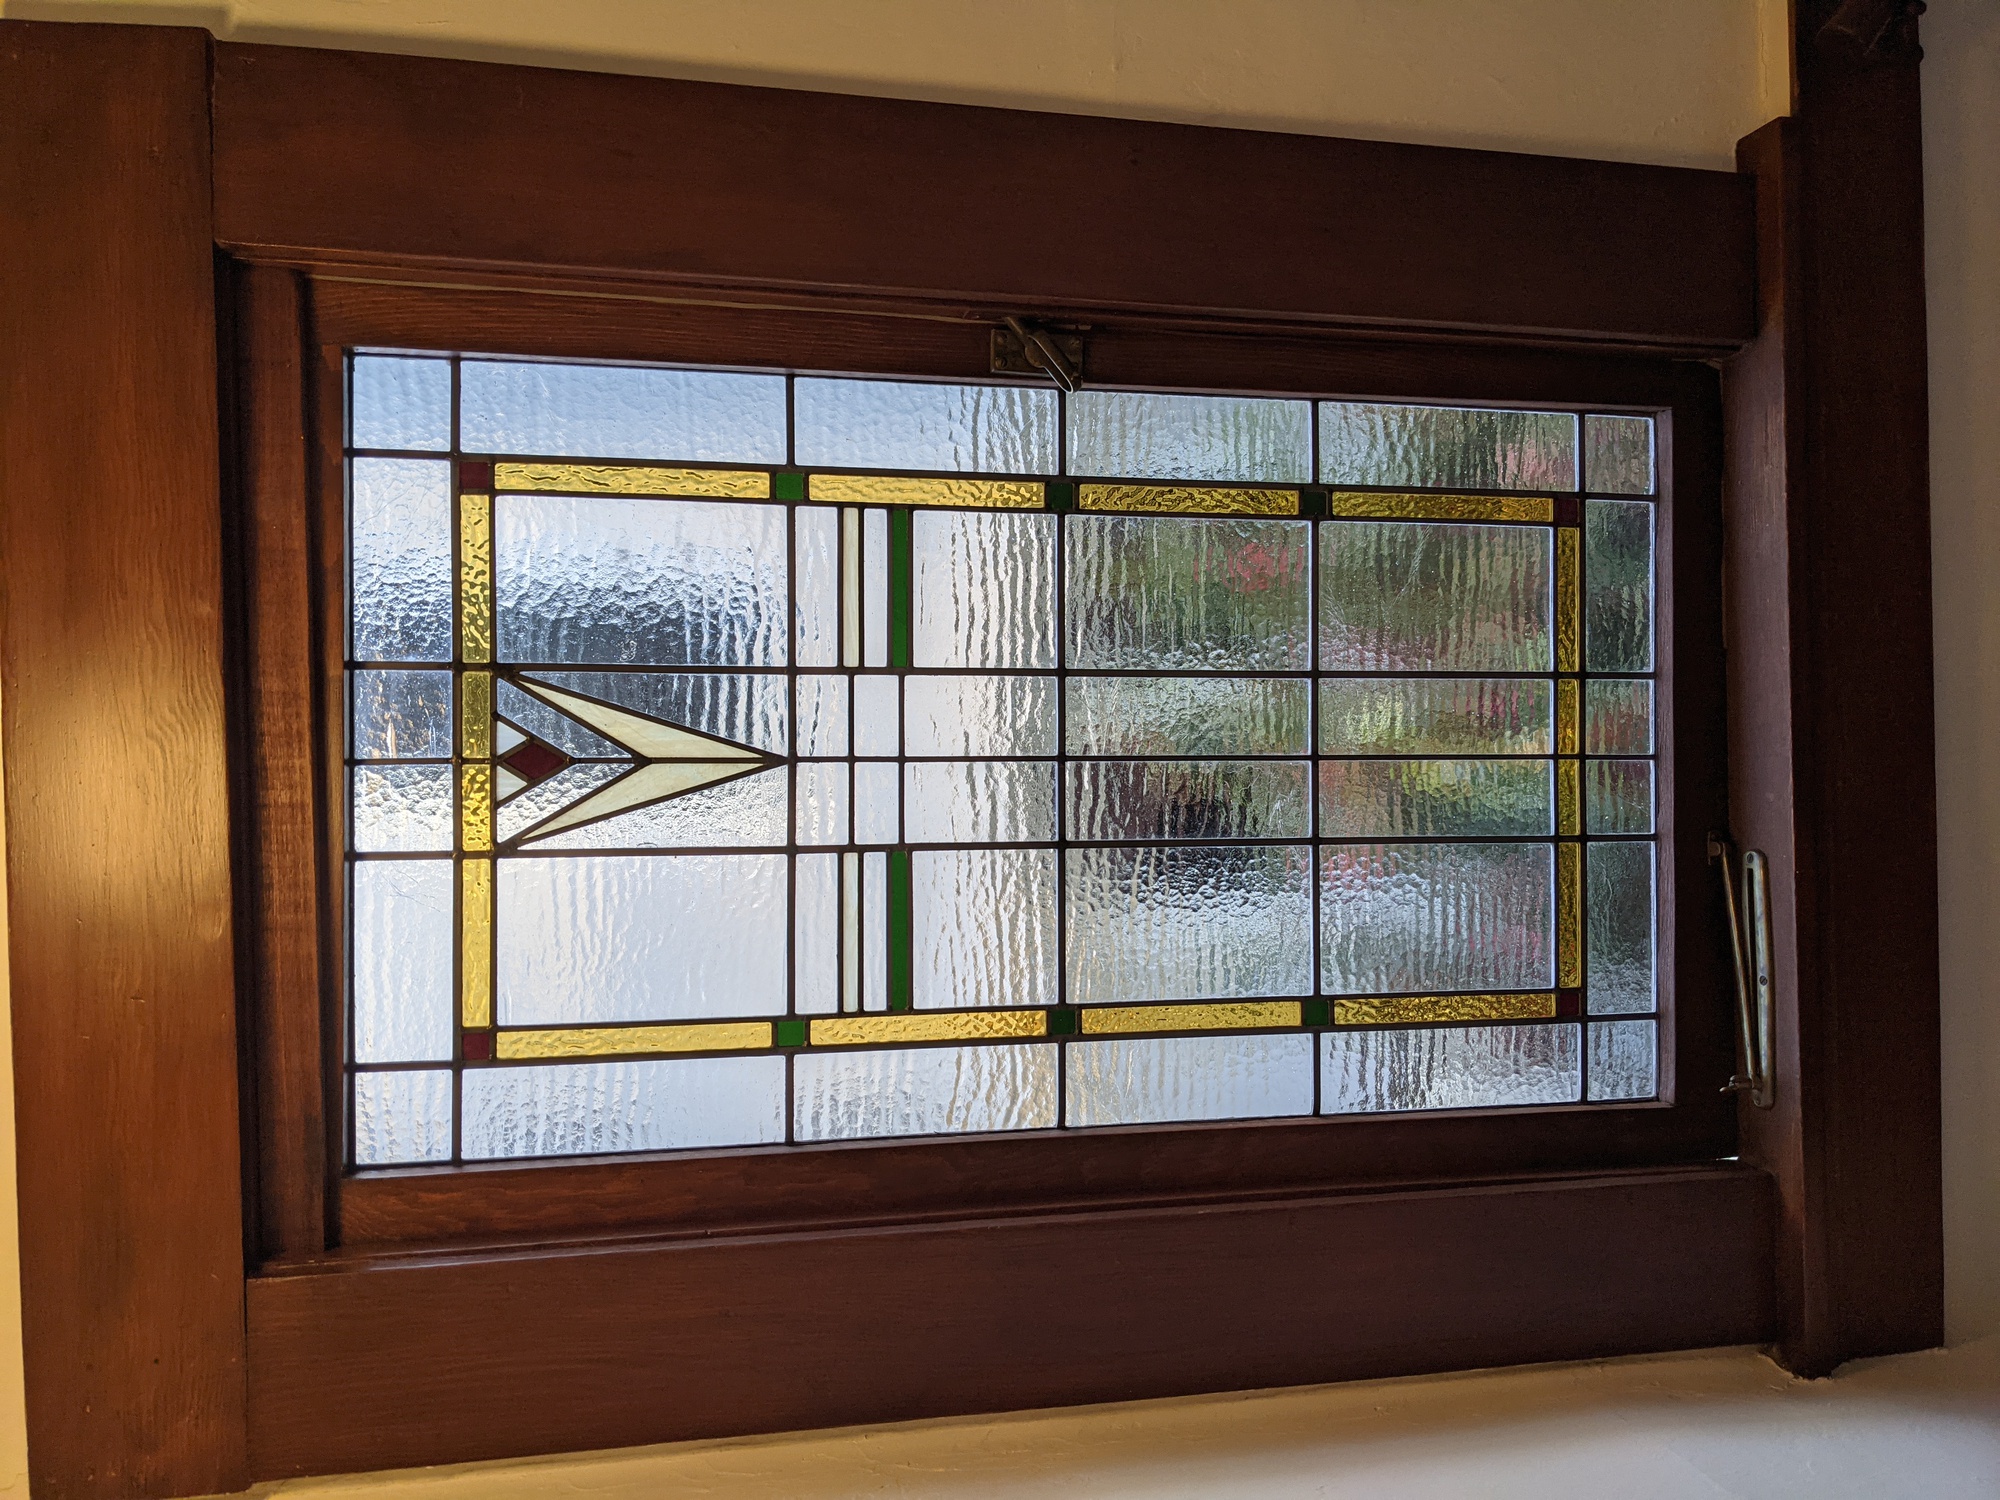
Other fun design elements included the stained glass window:
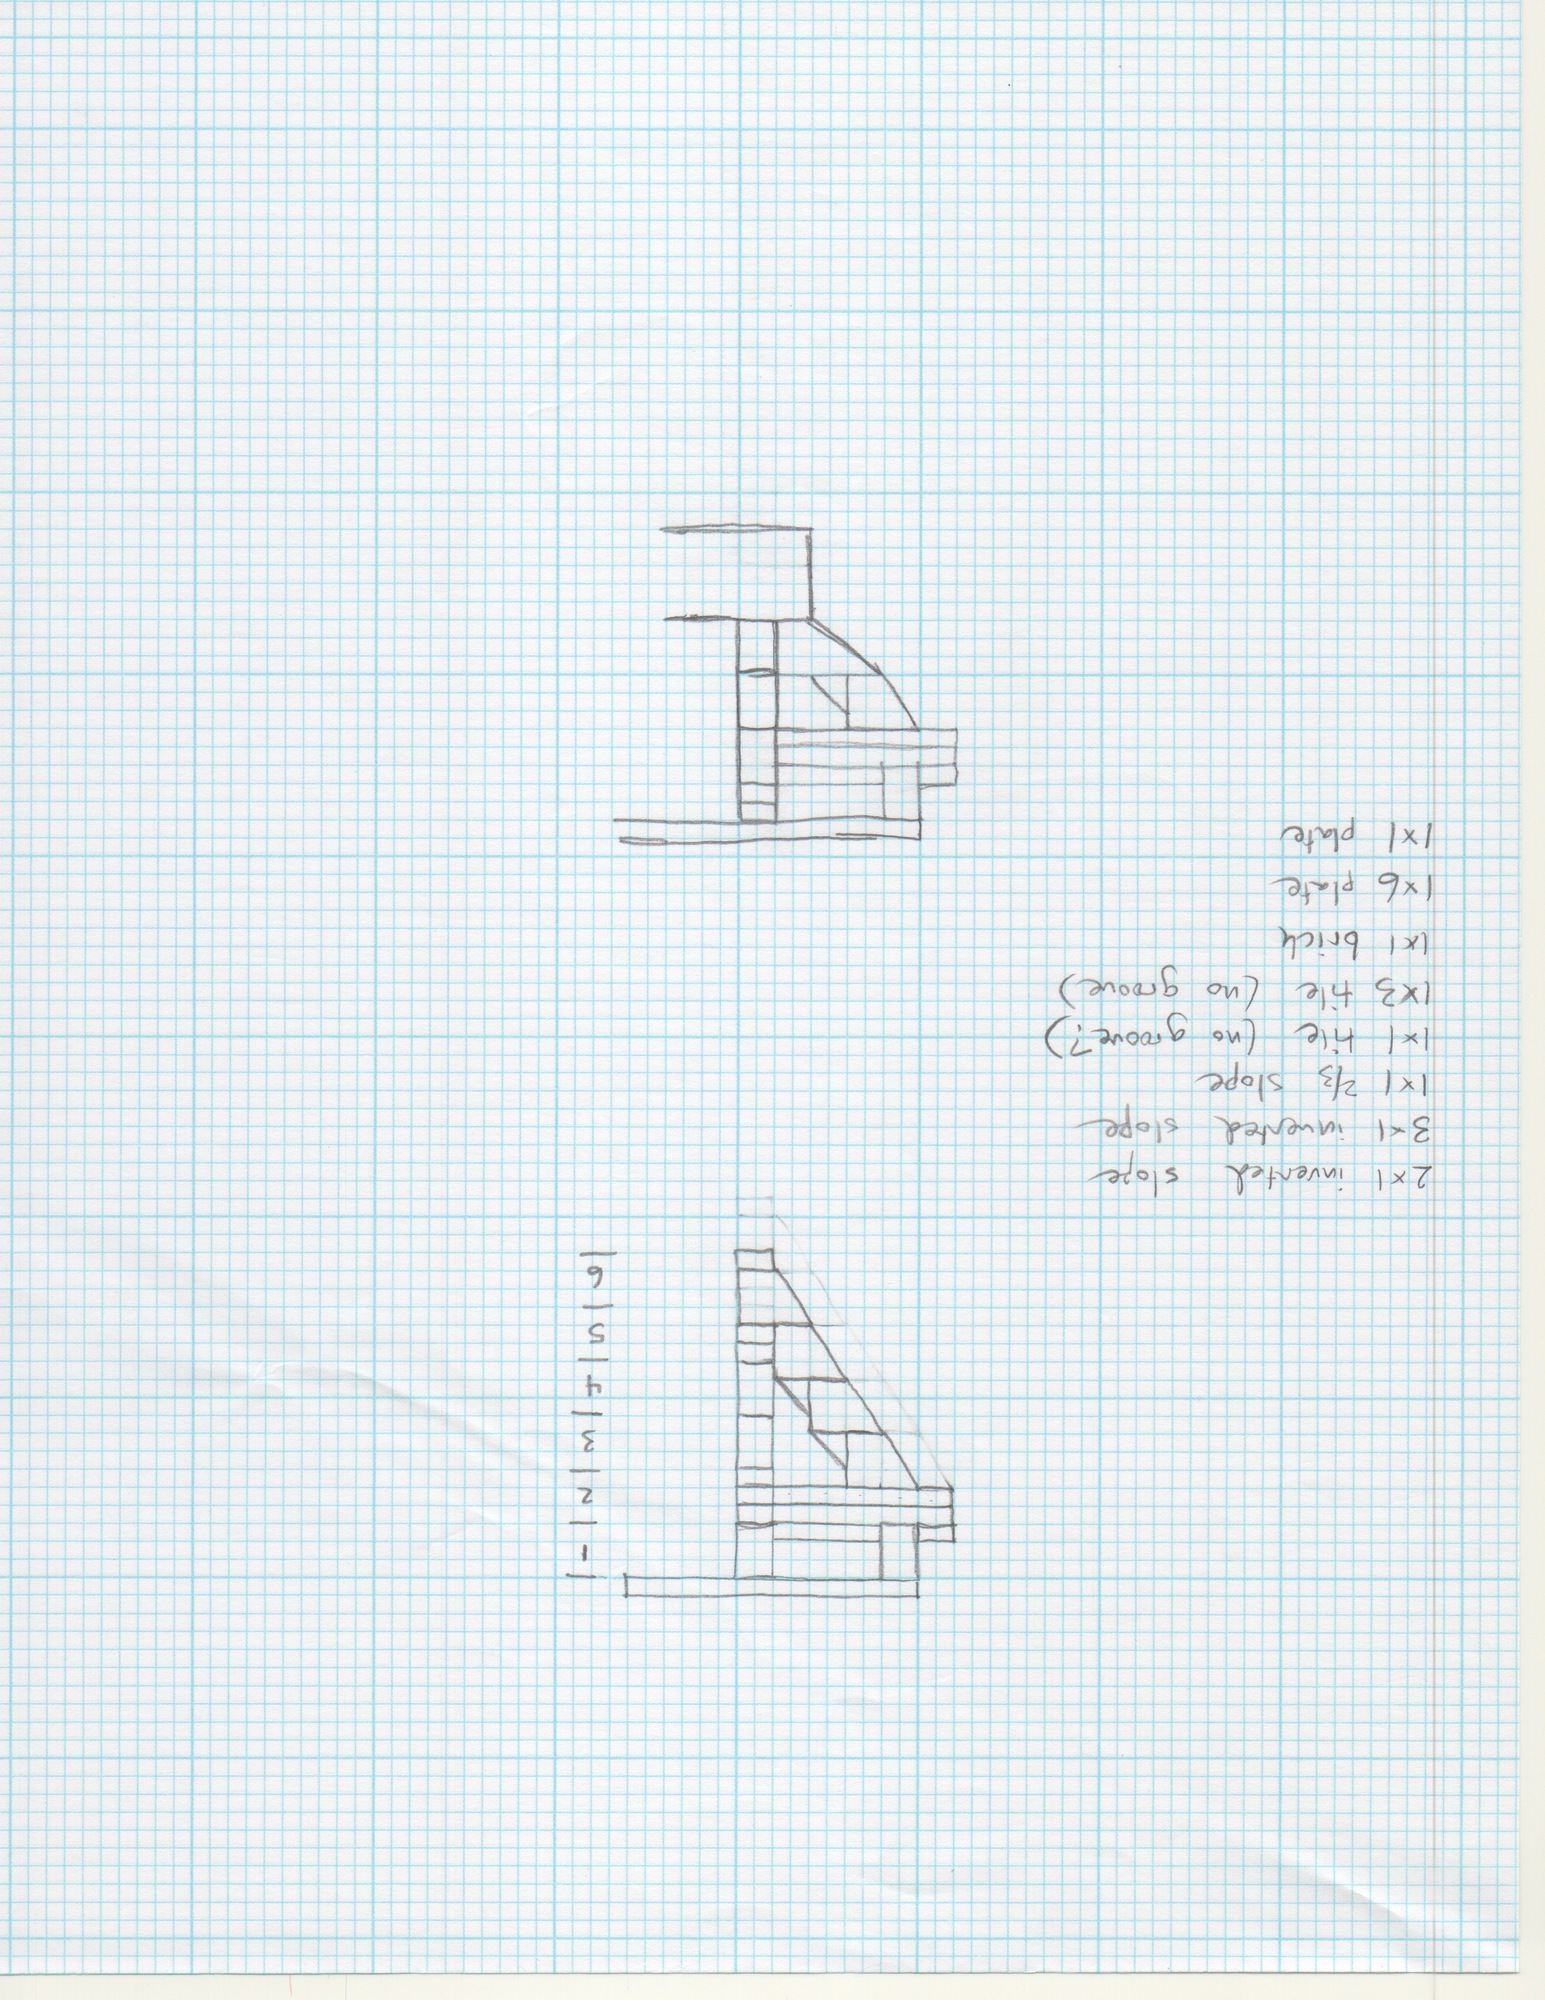
corbels:
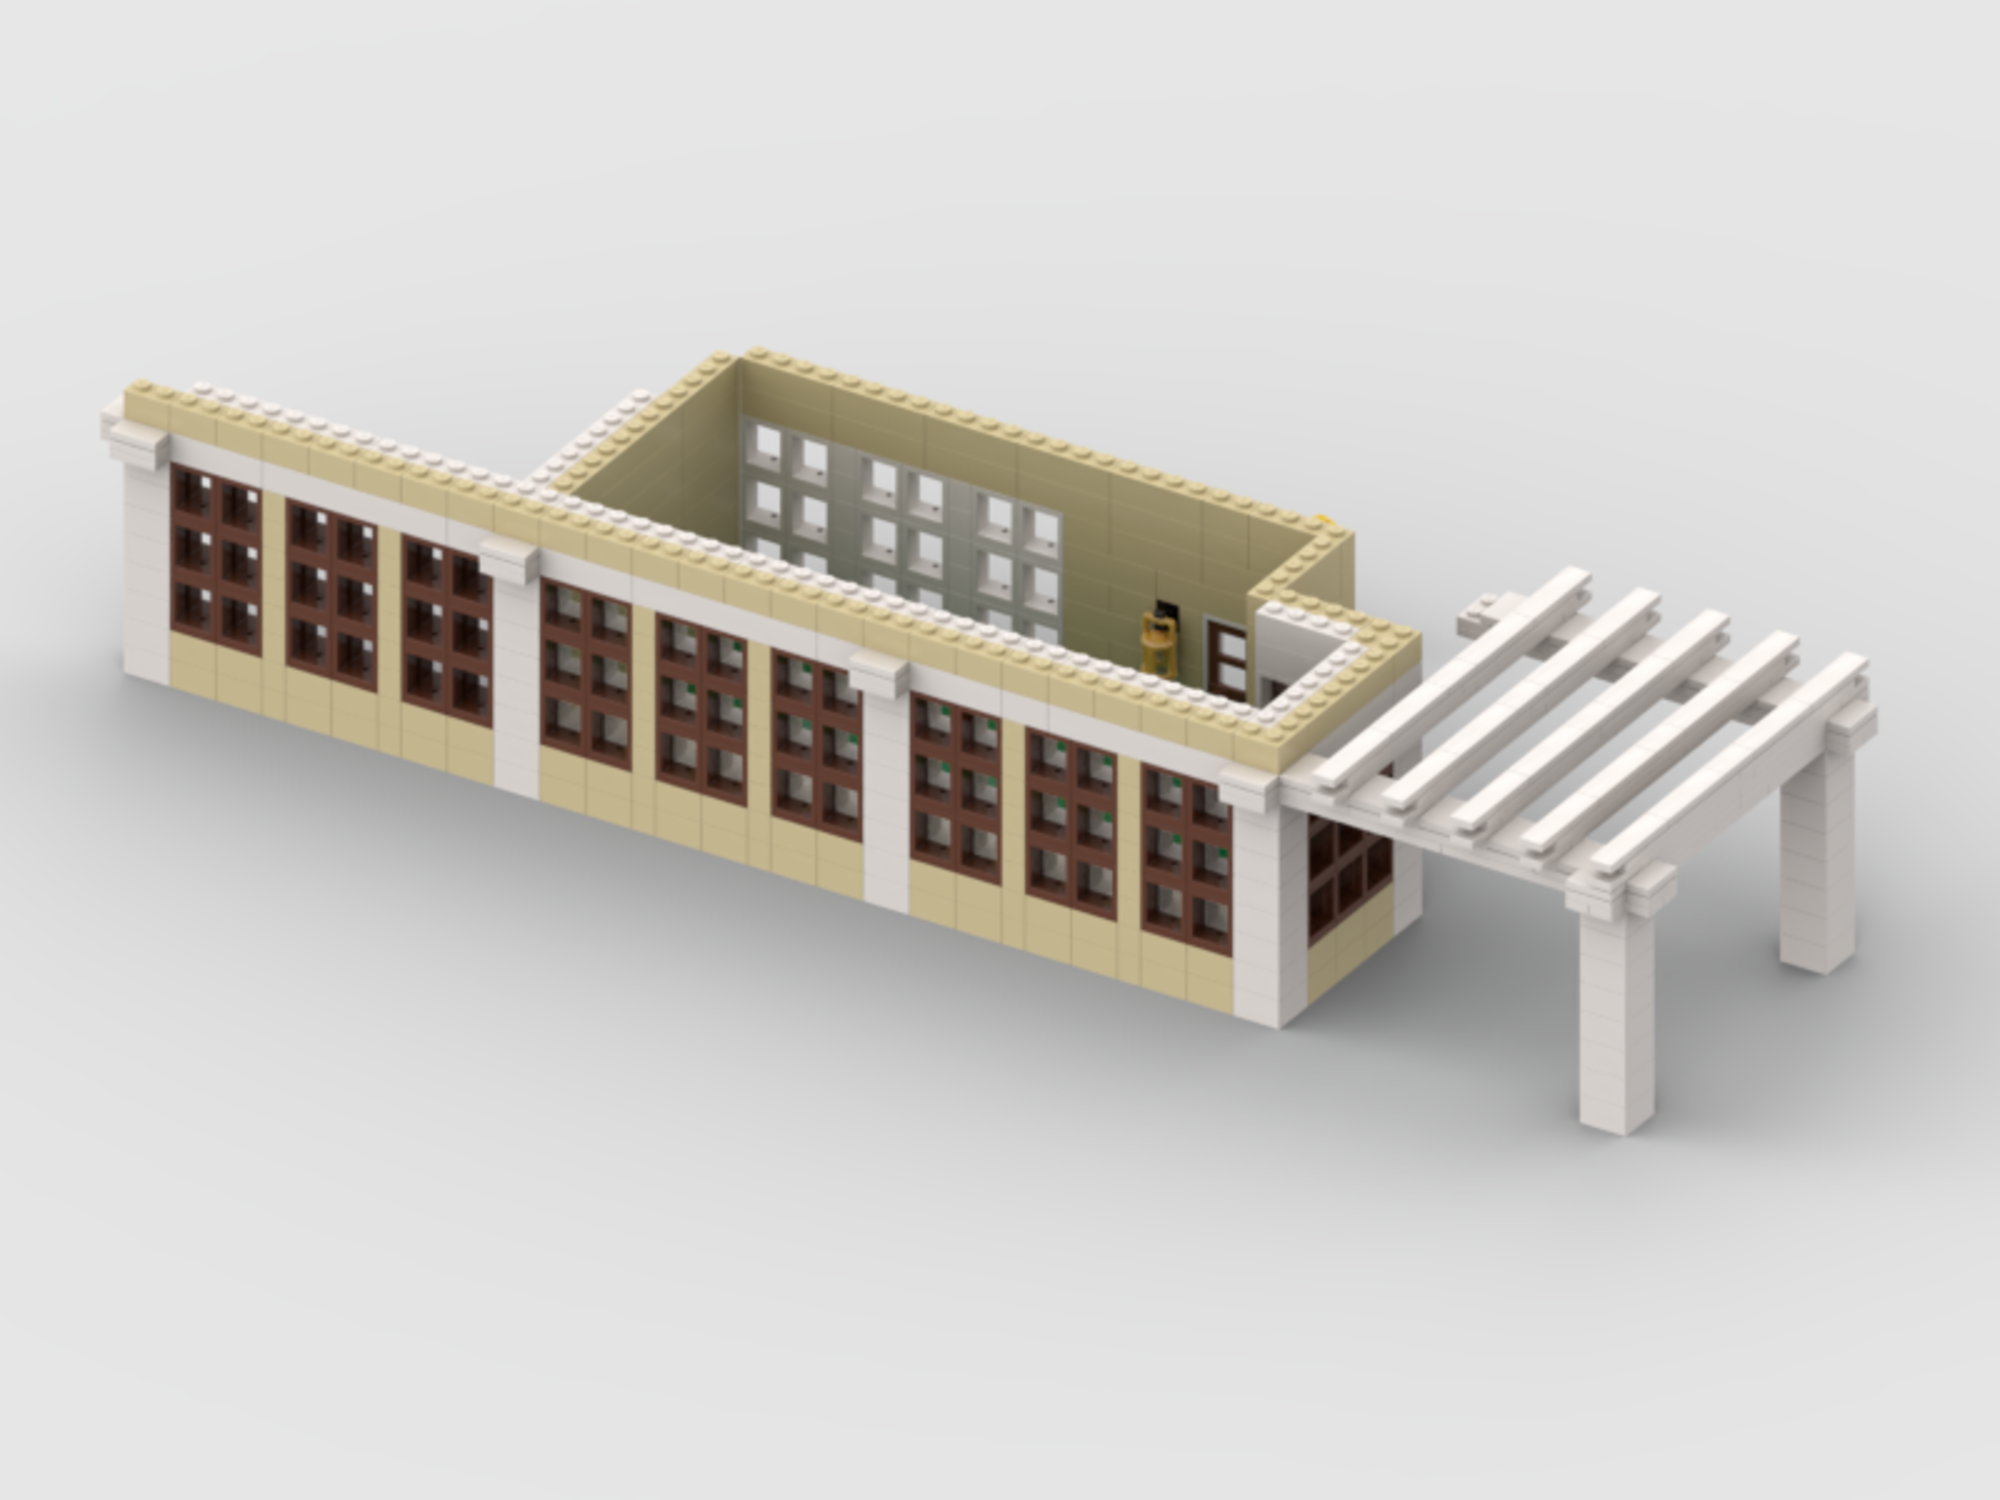
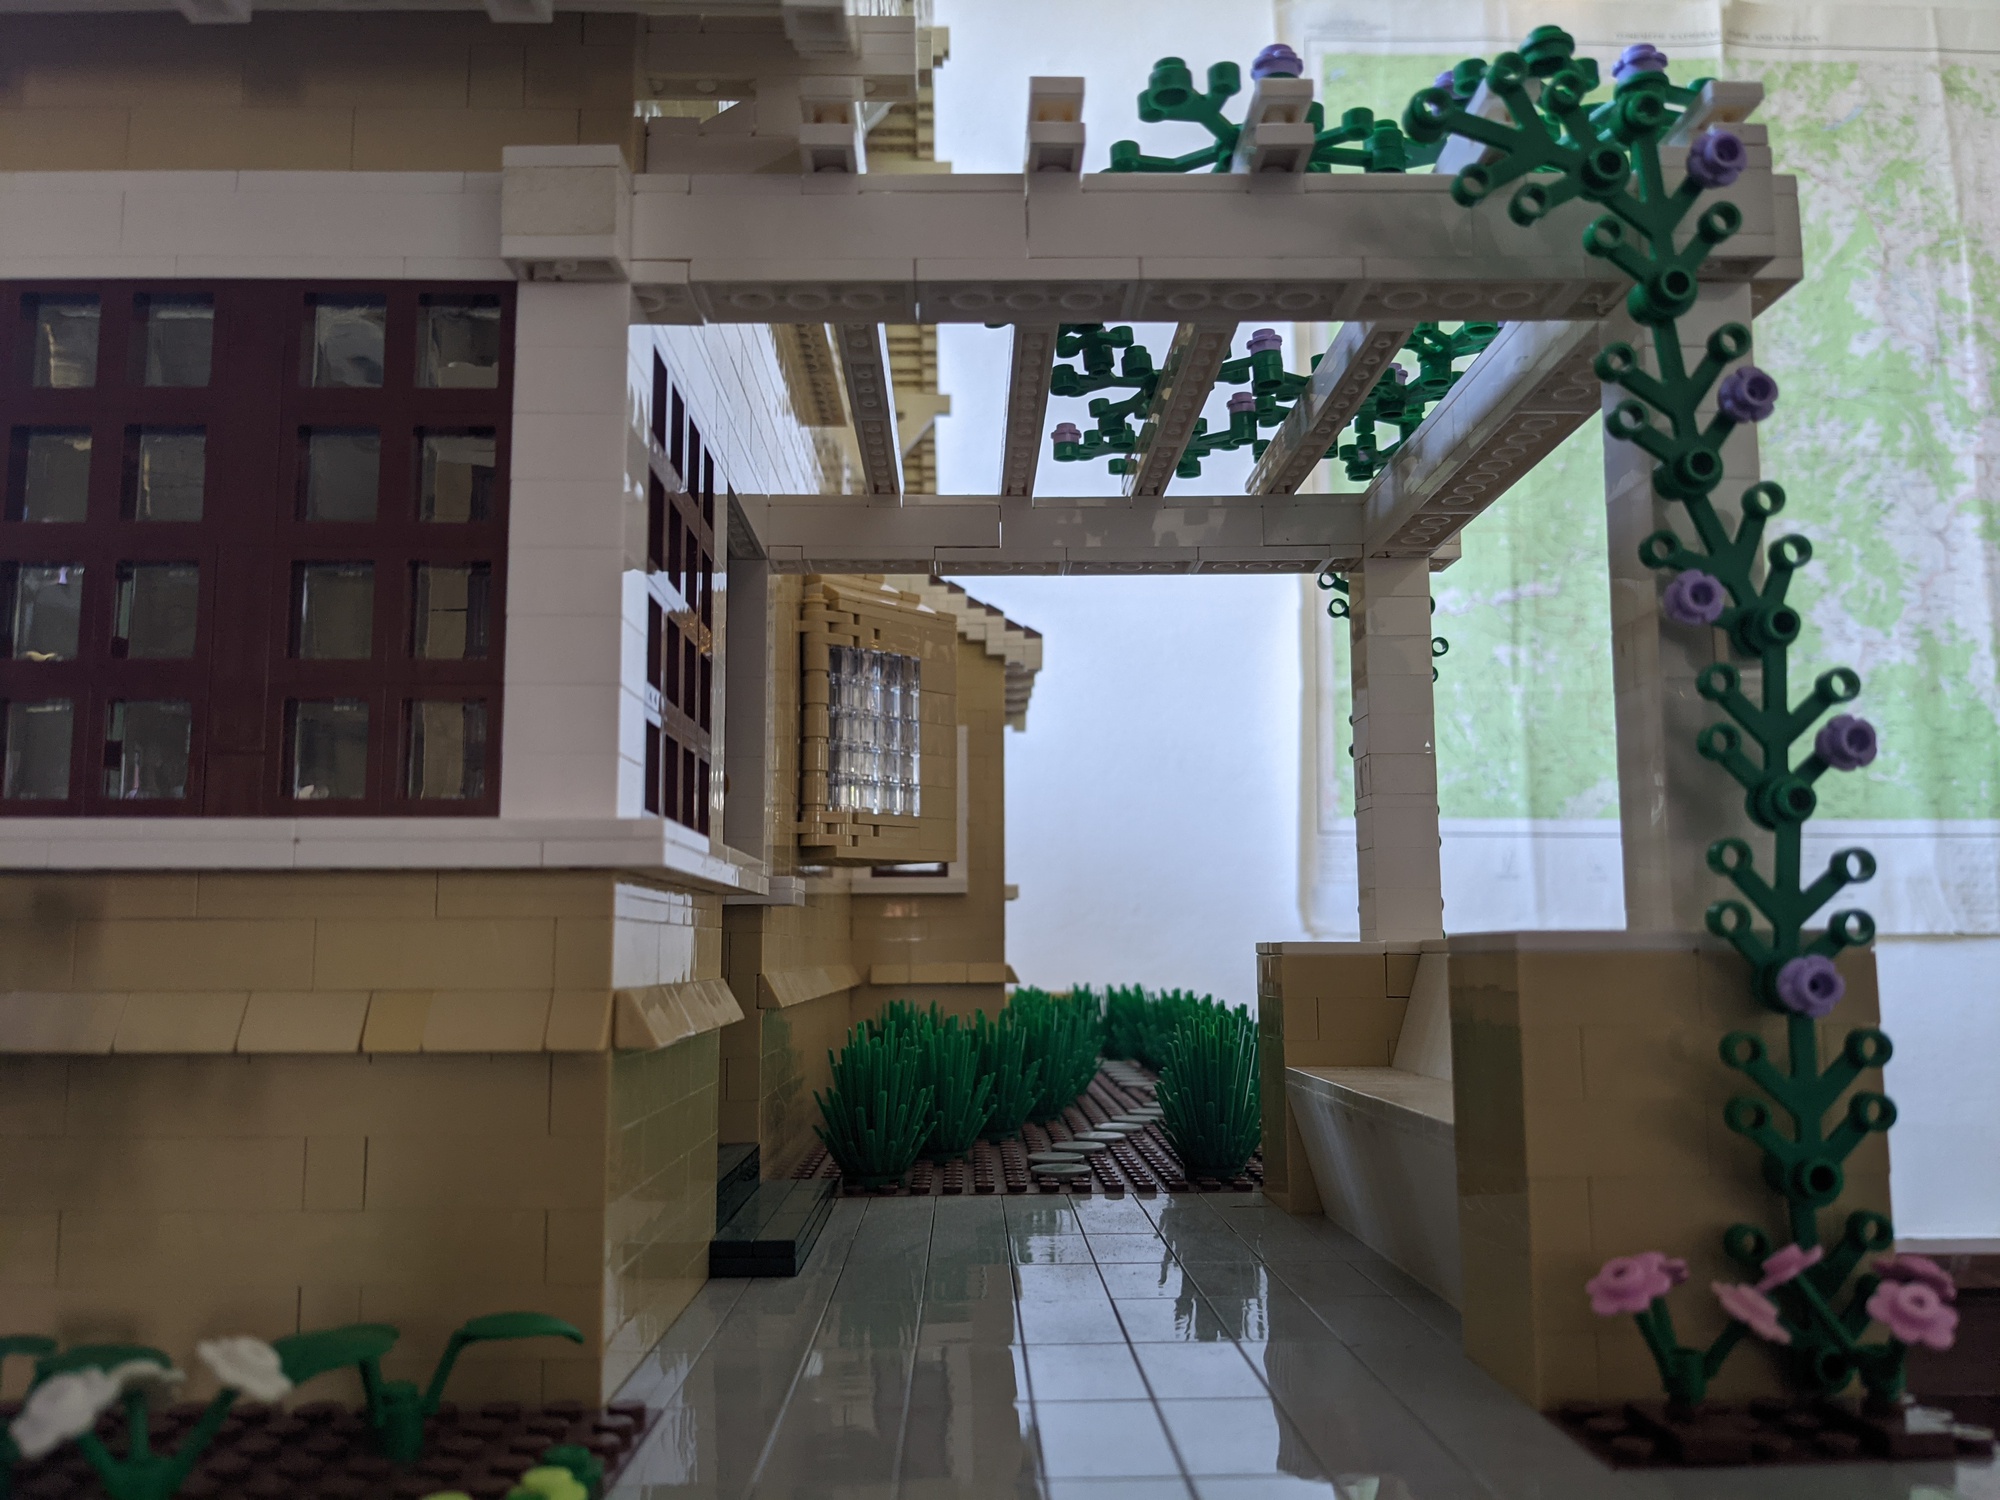
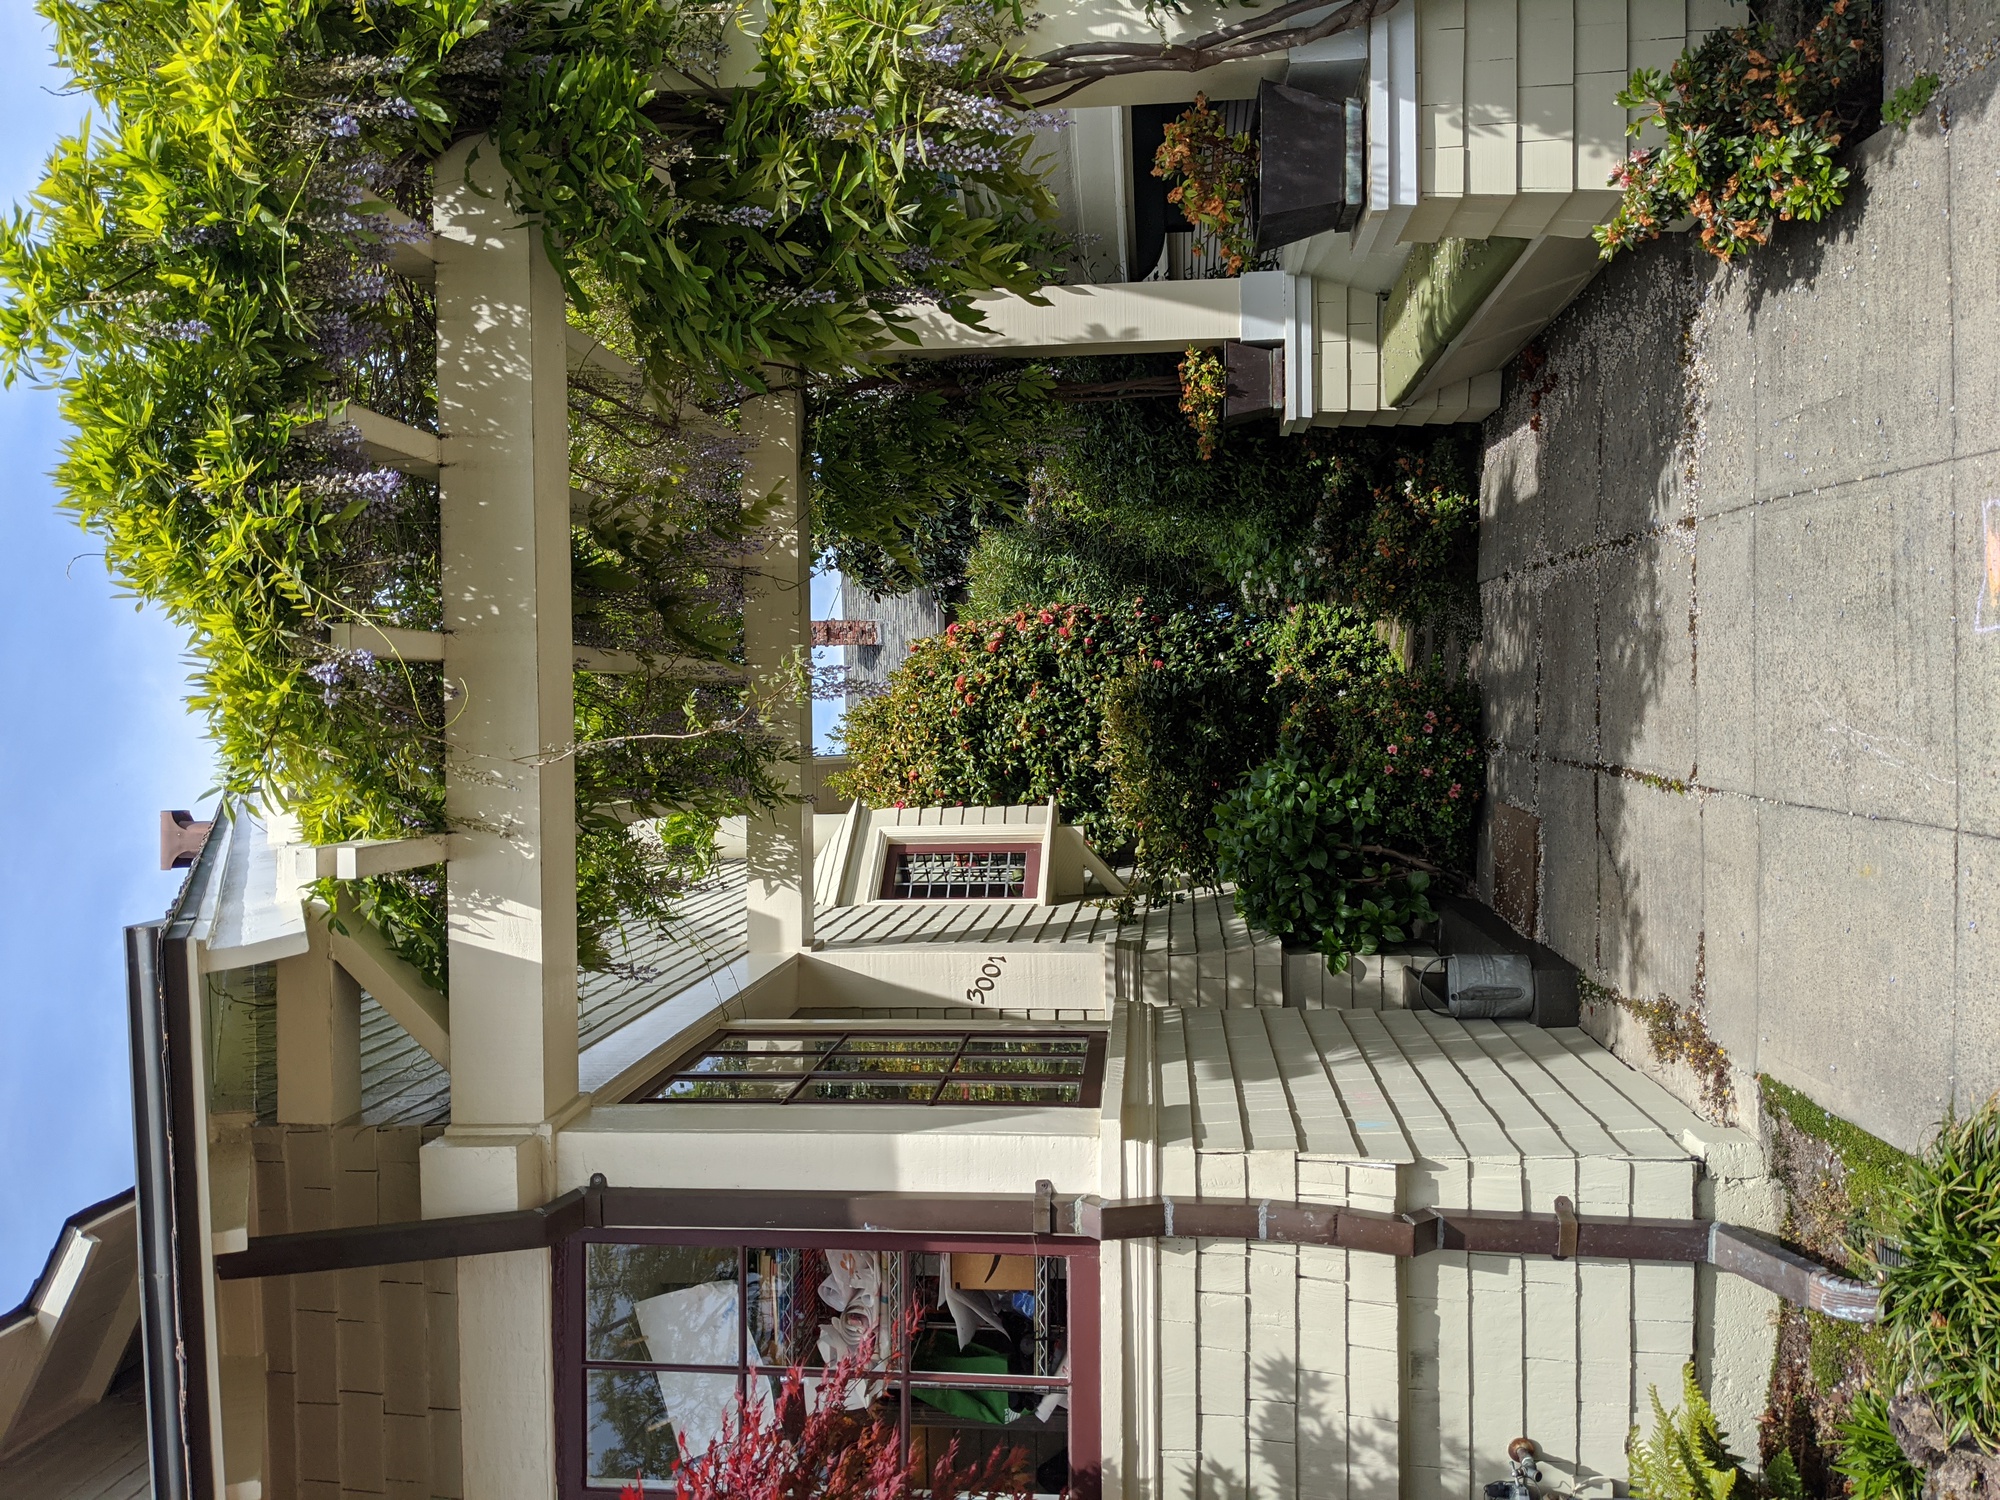
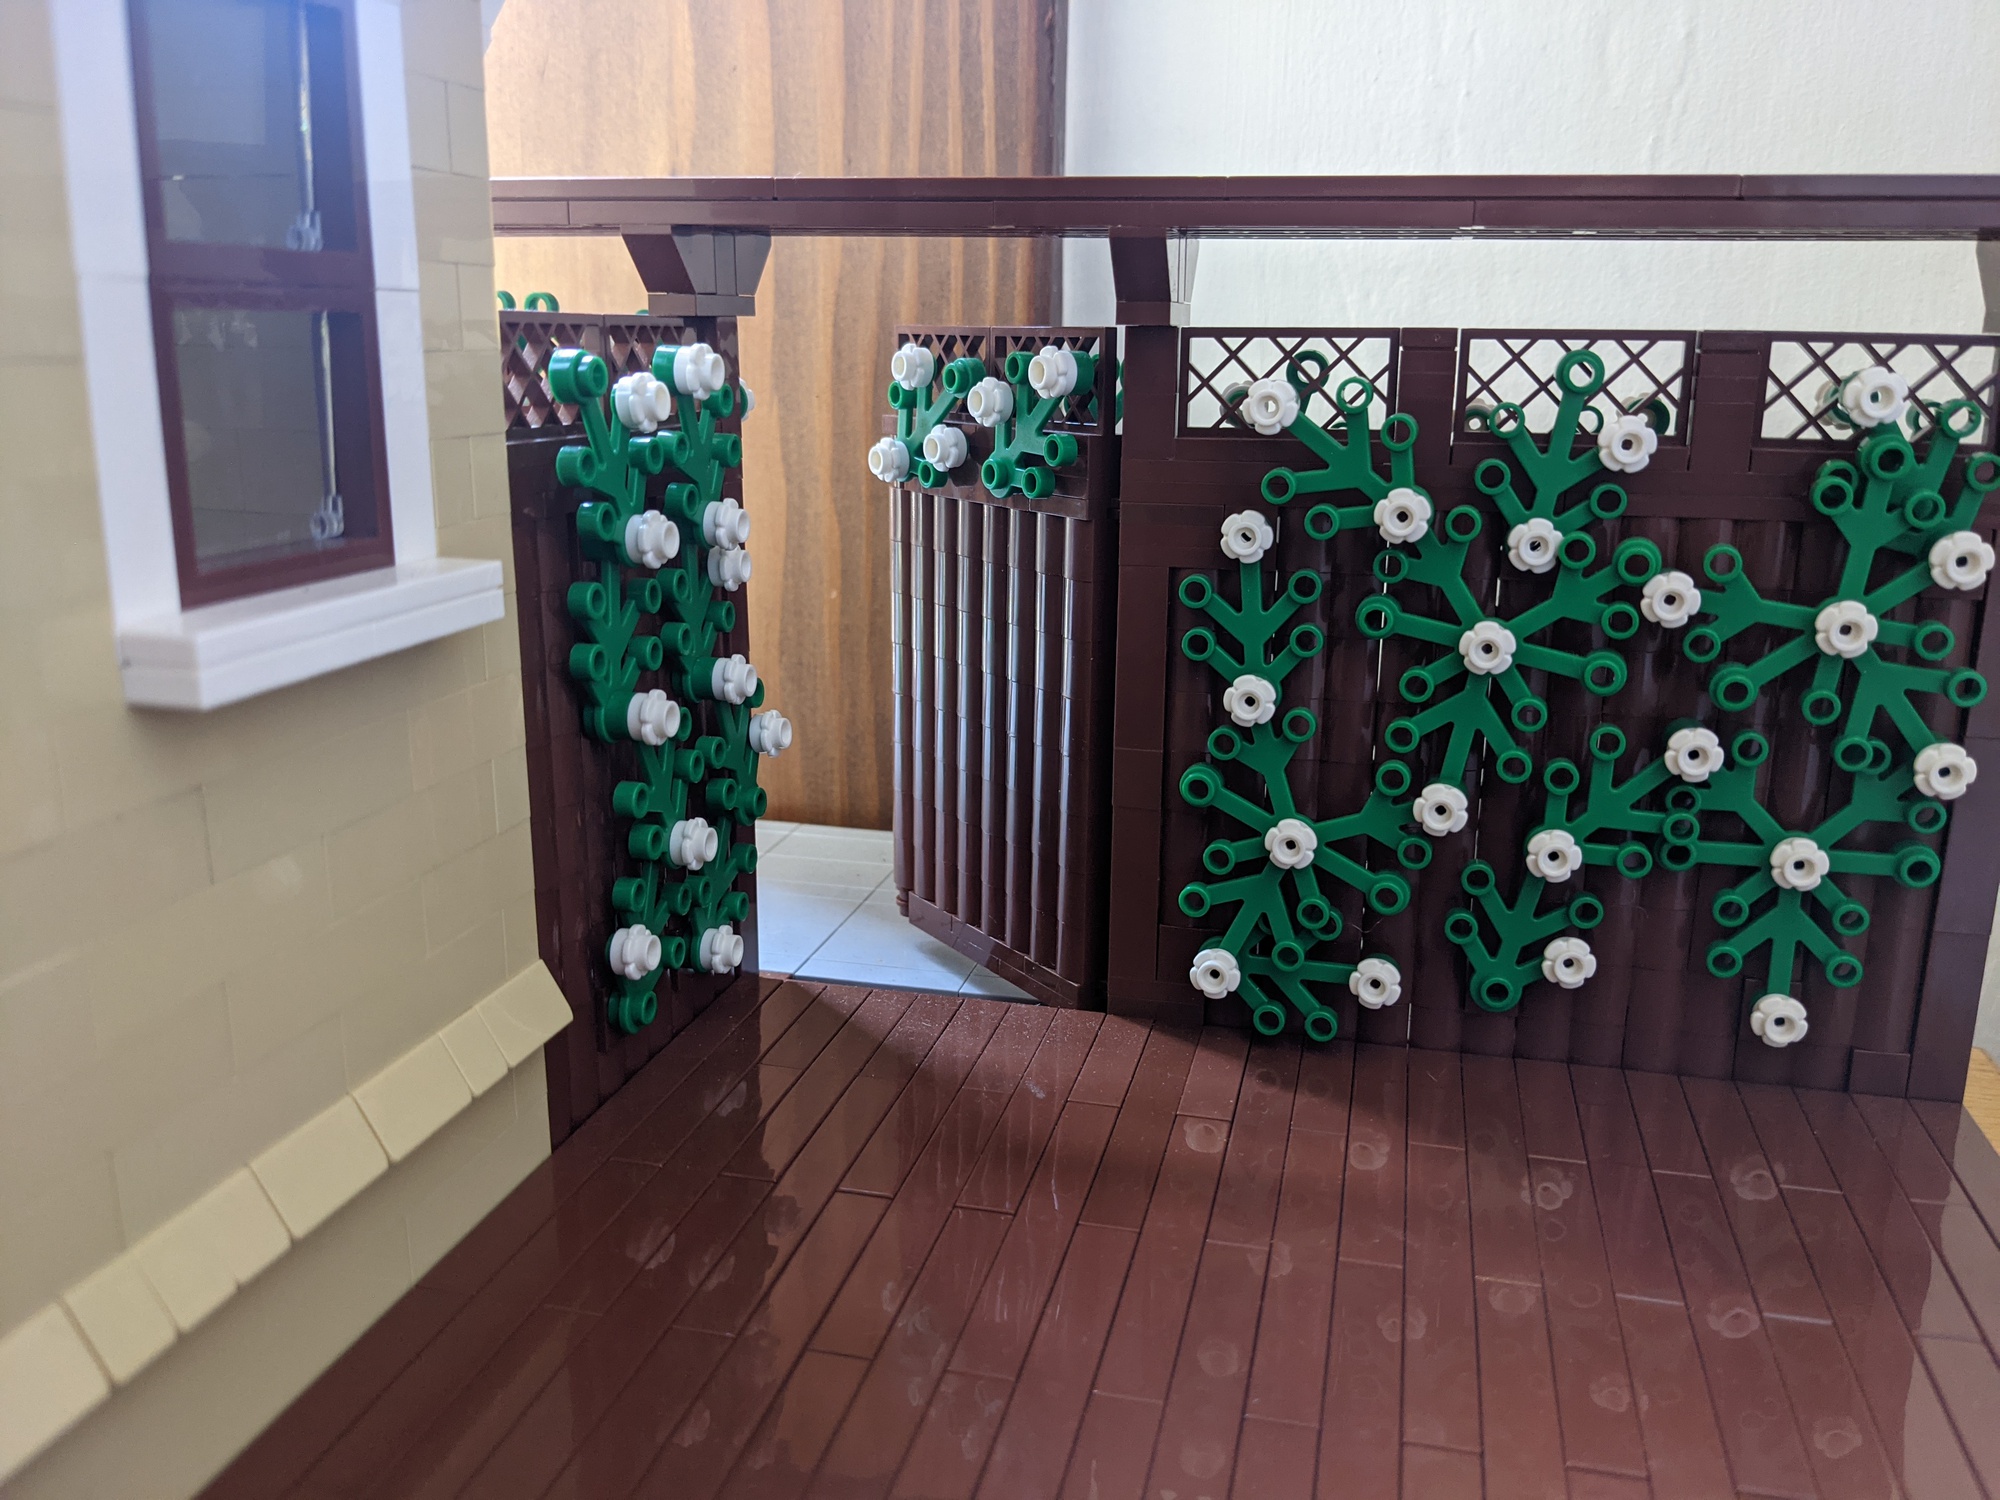
and trellis:
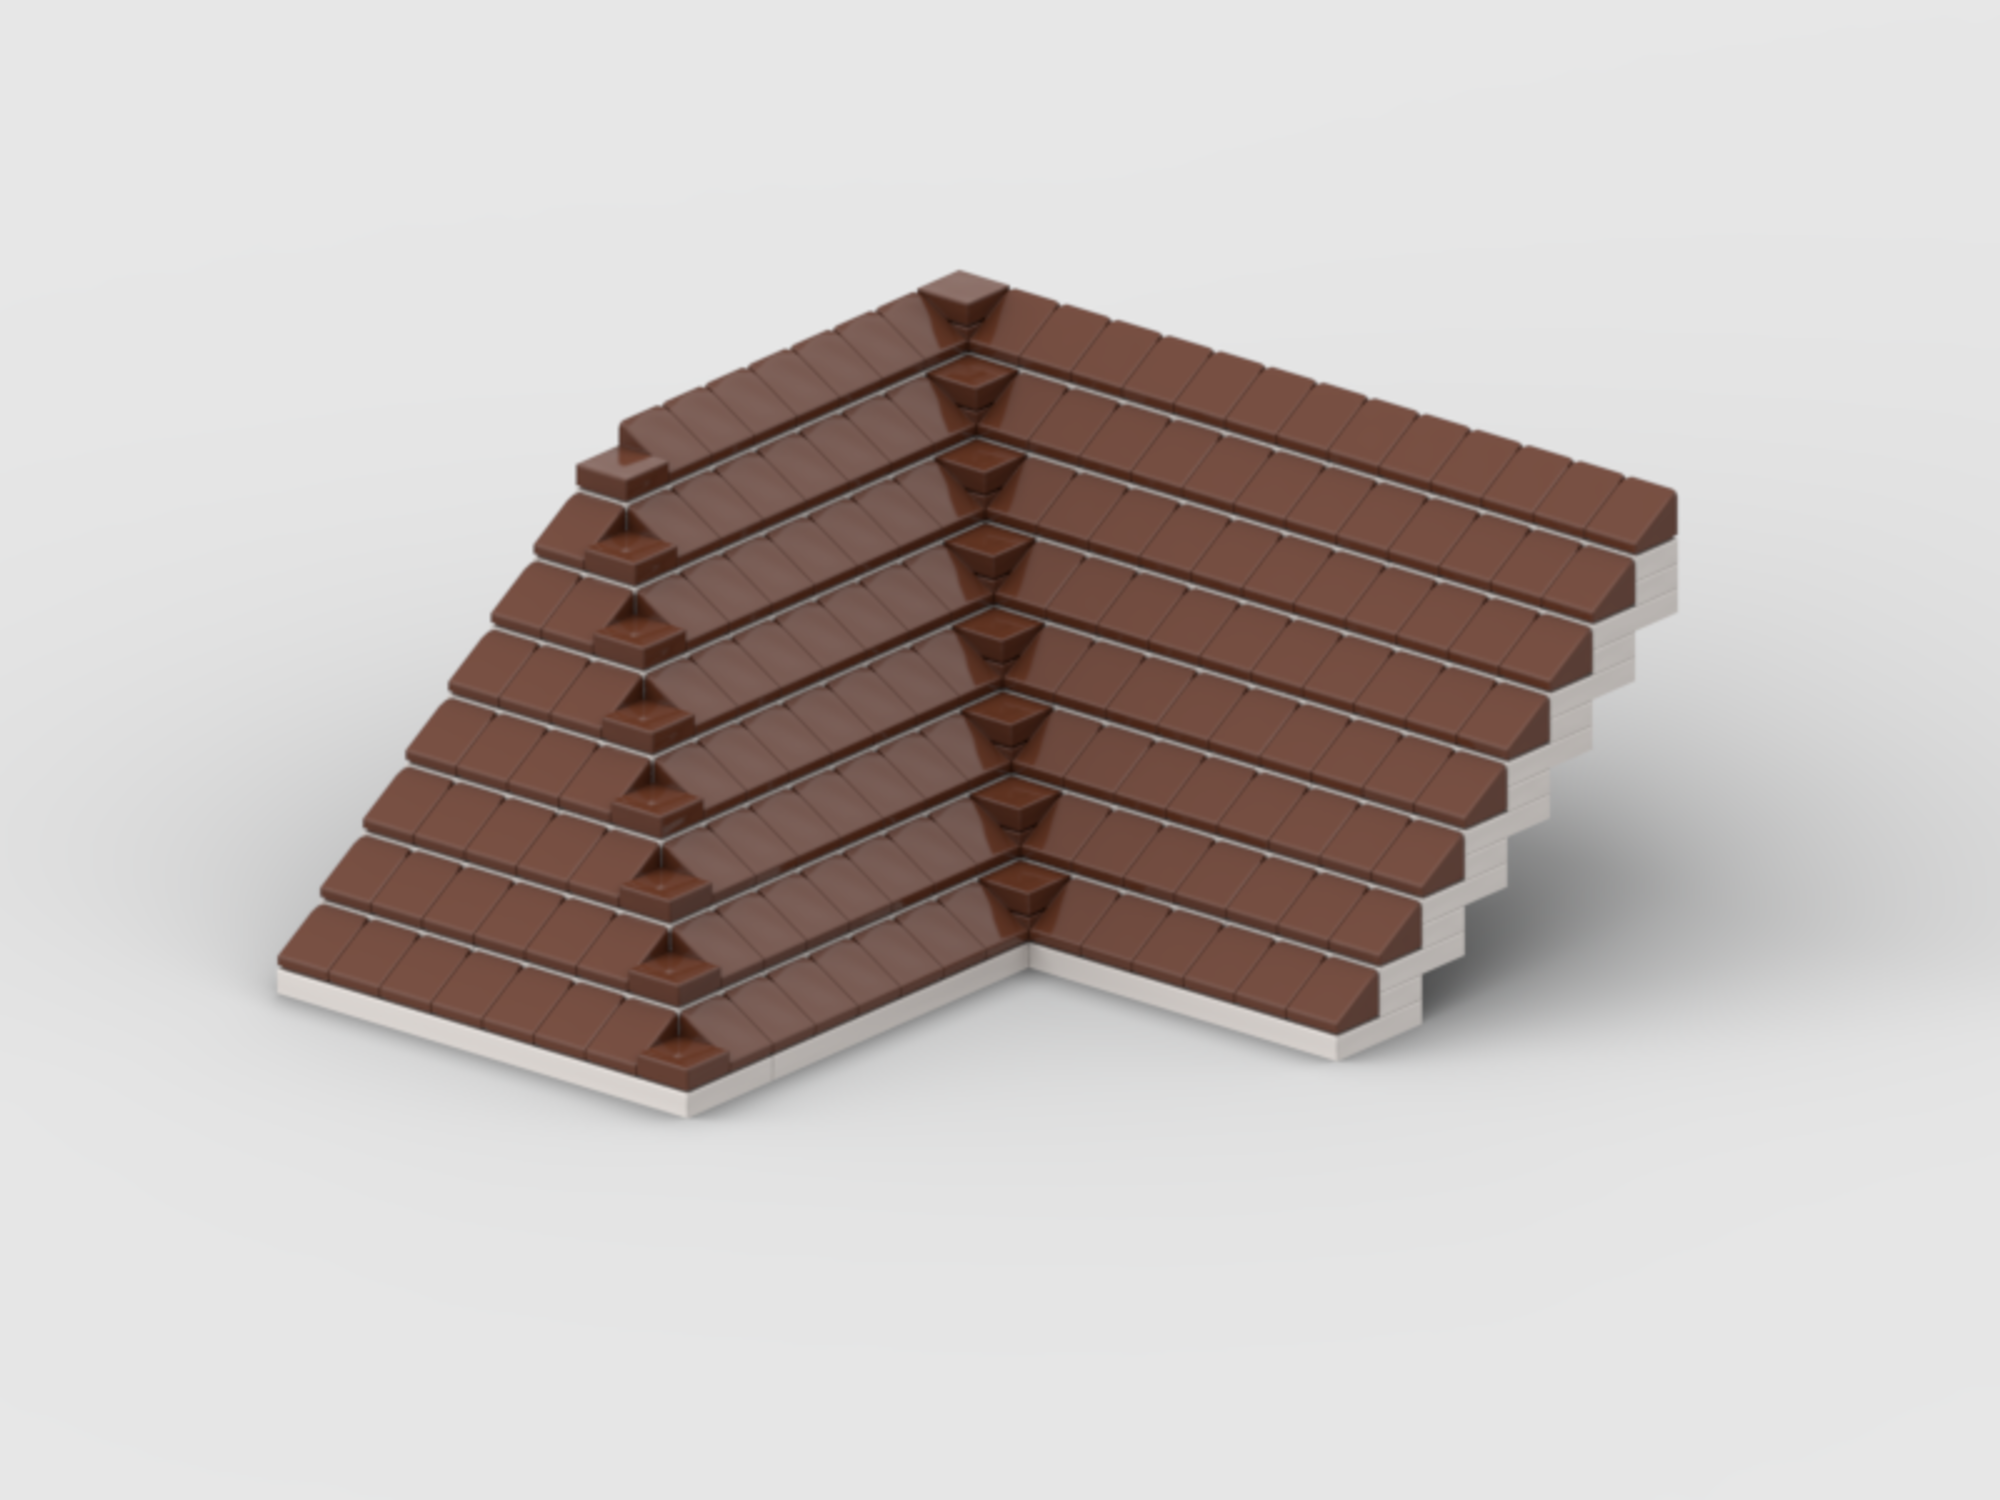
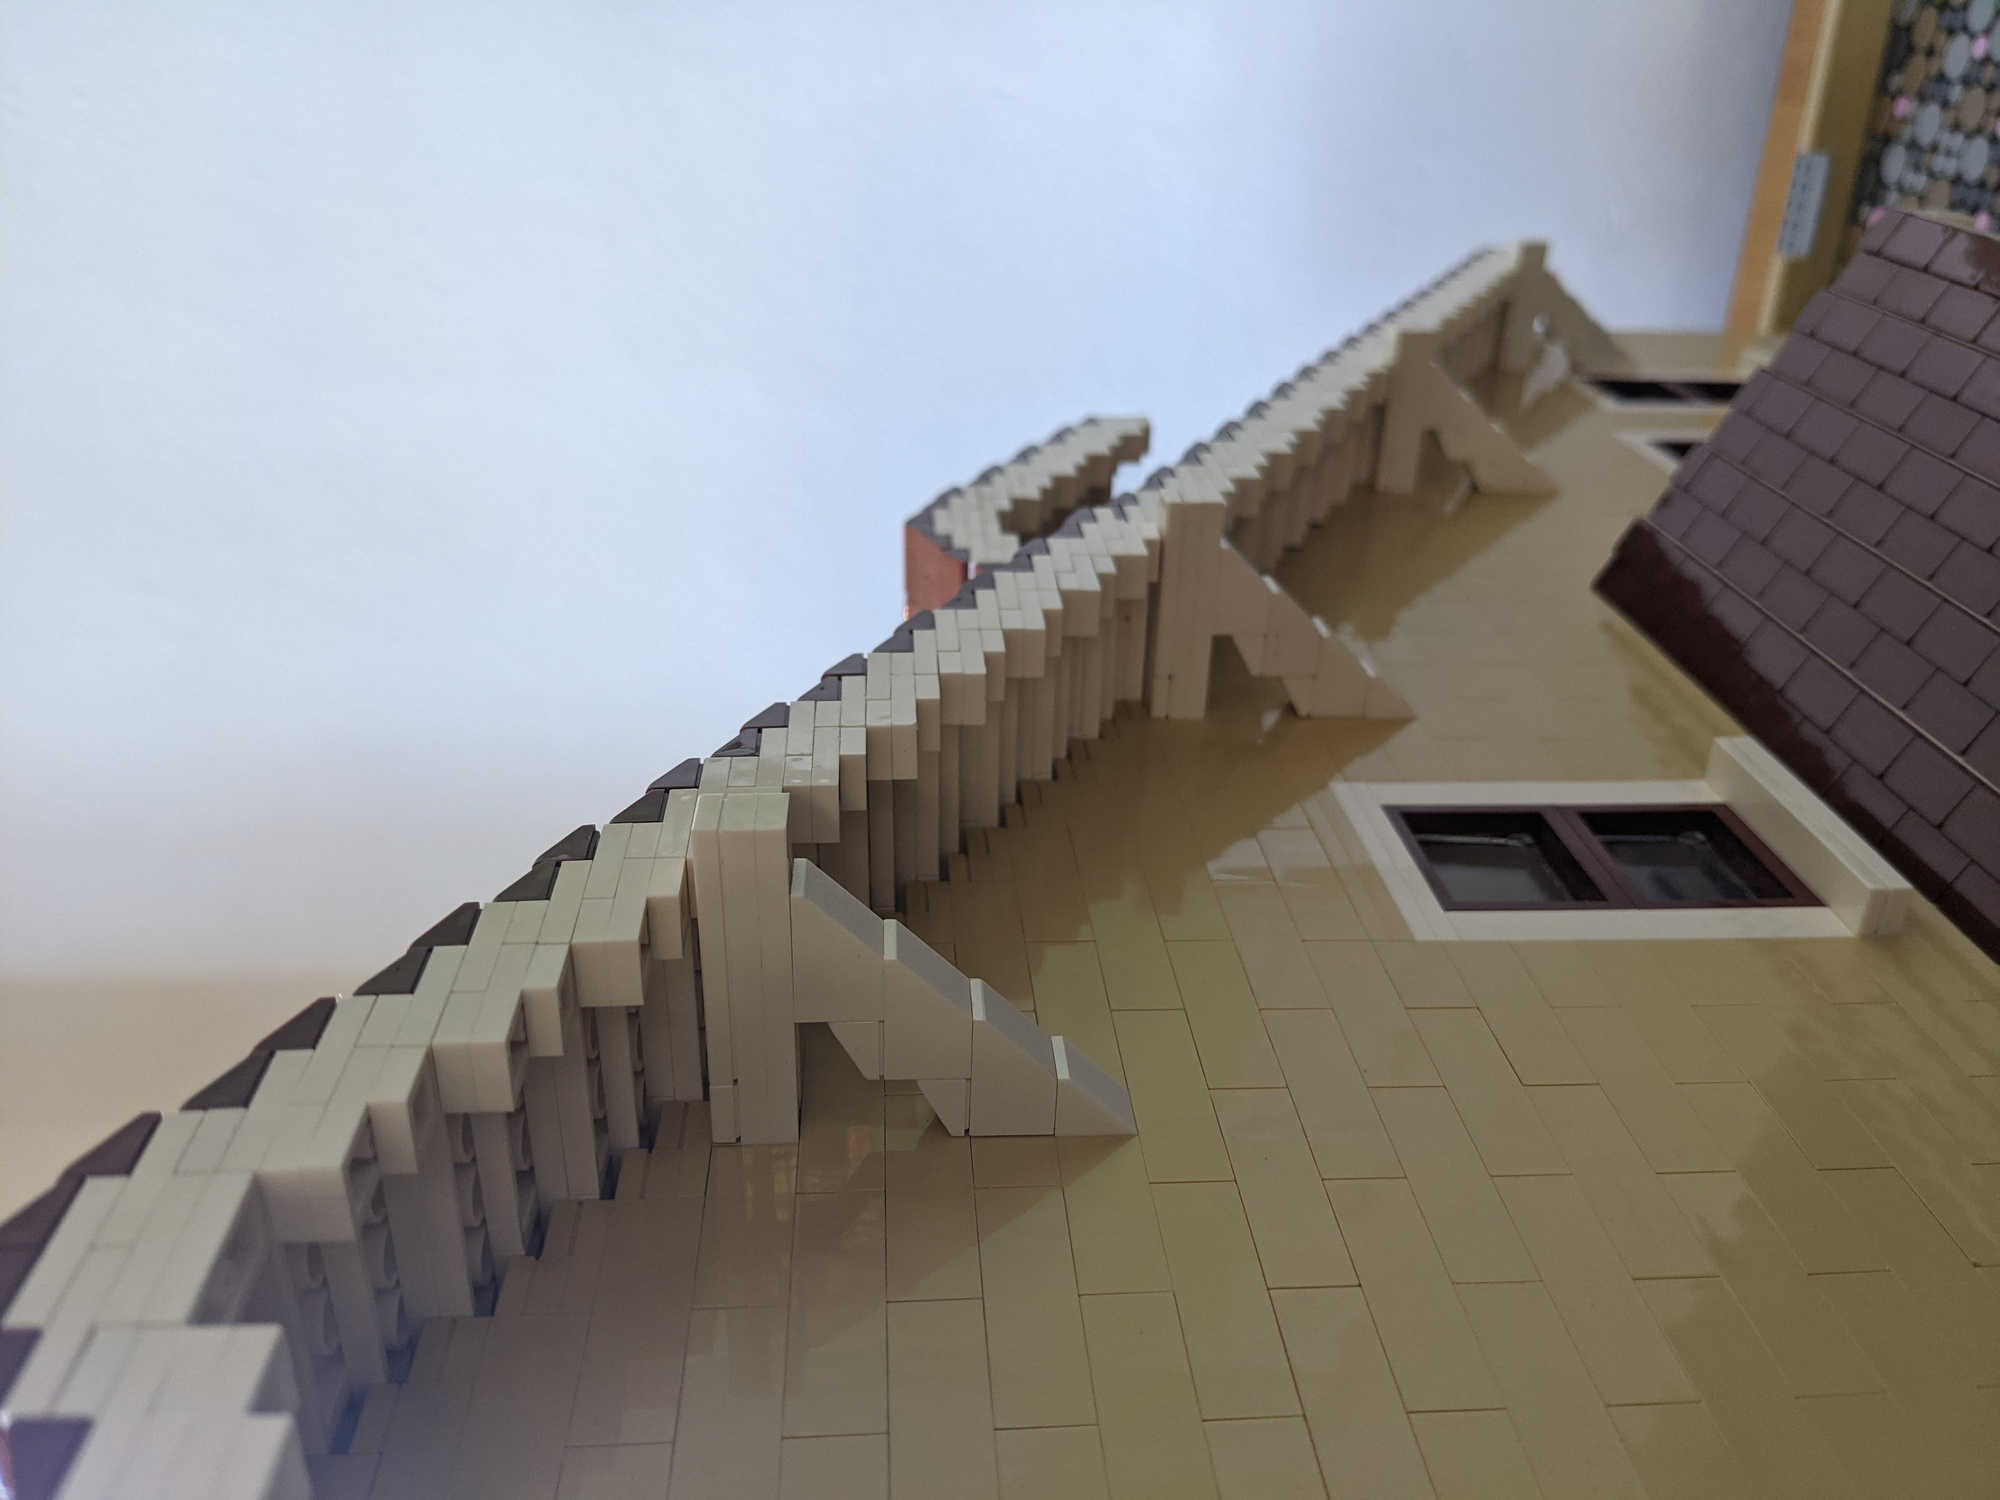
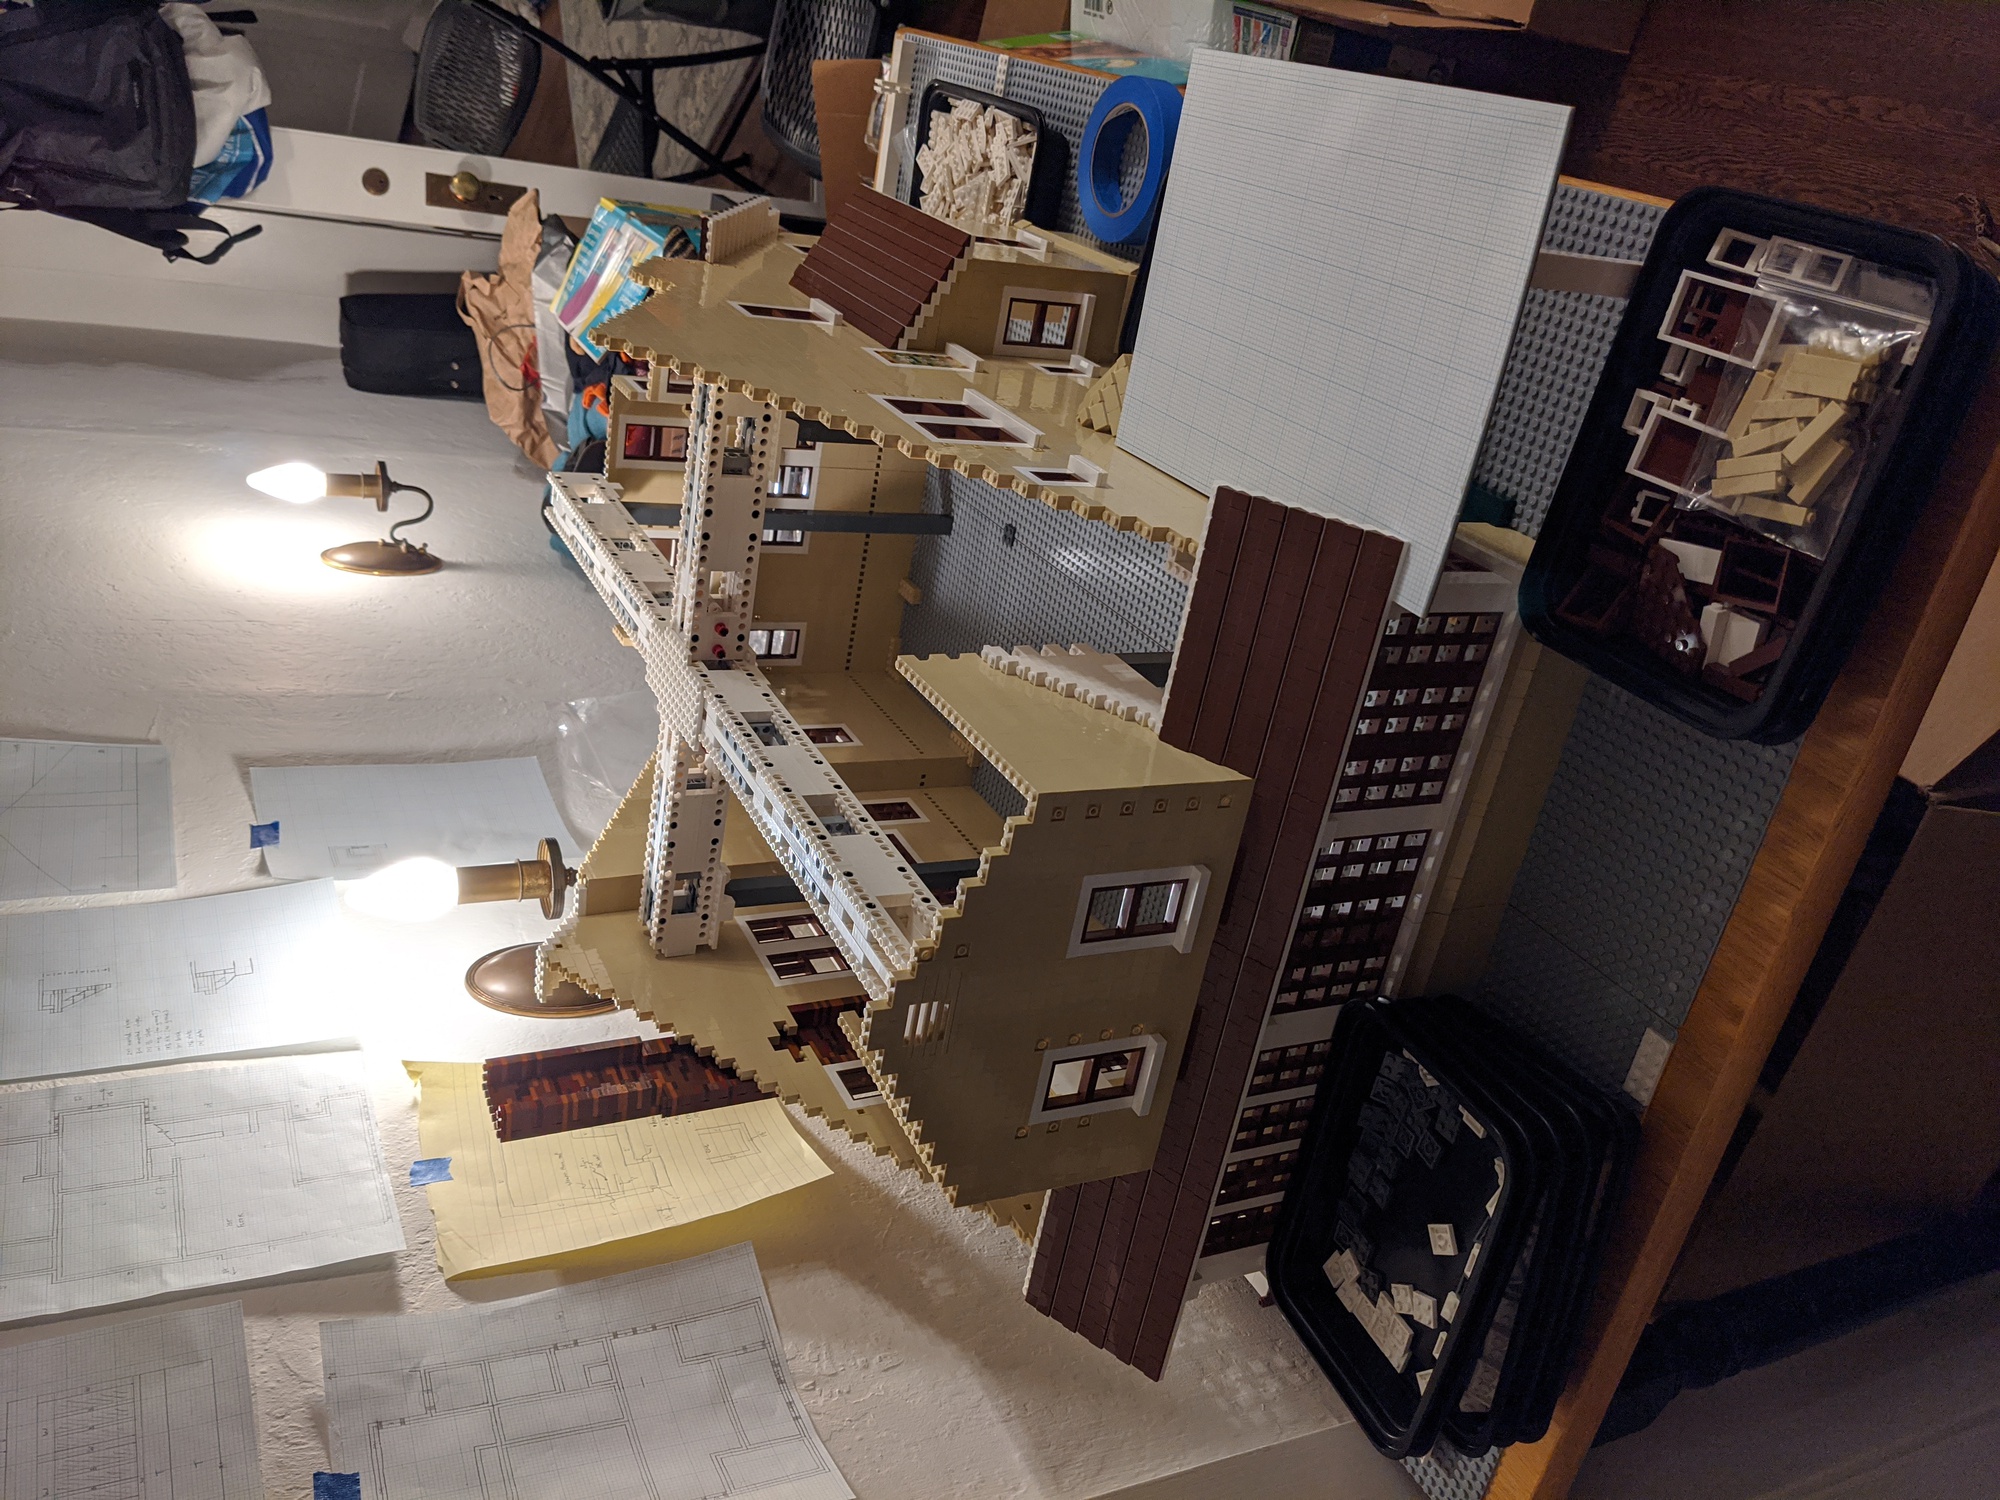
But the biggest challenge by far was the roof. I designed the model to leave open the possibility of later constructing the interior rooms, which meant I couldn’t have any interior supports (or at least not any that couldn’t be later incorporated into interior walls).

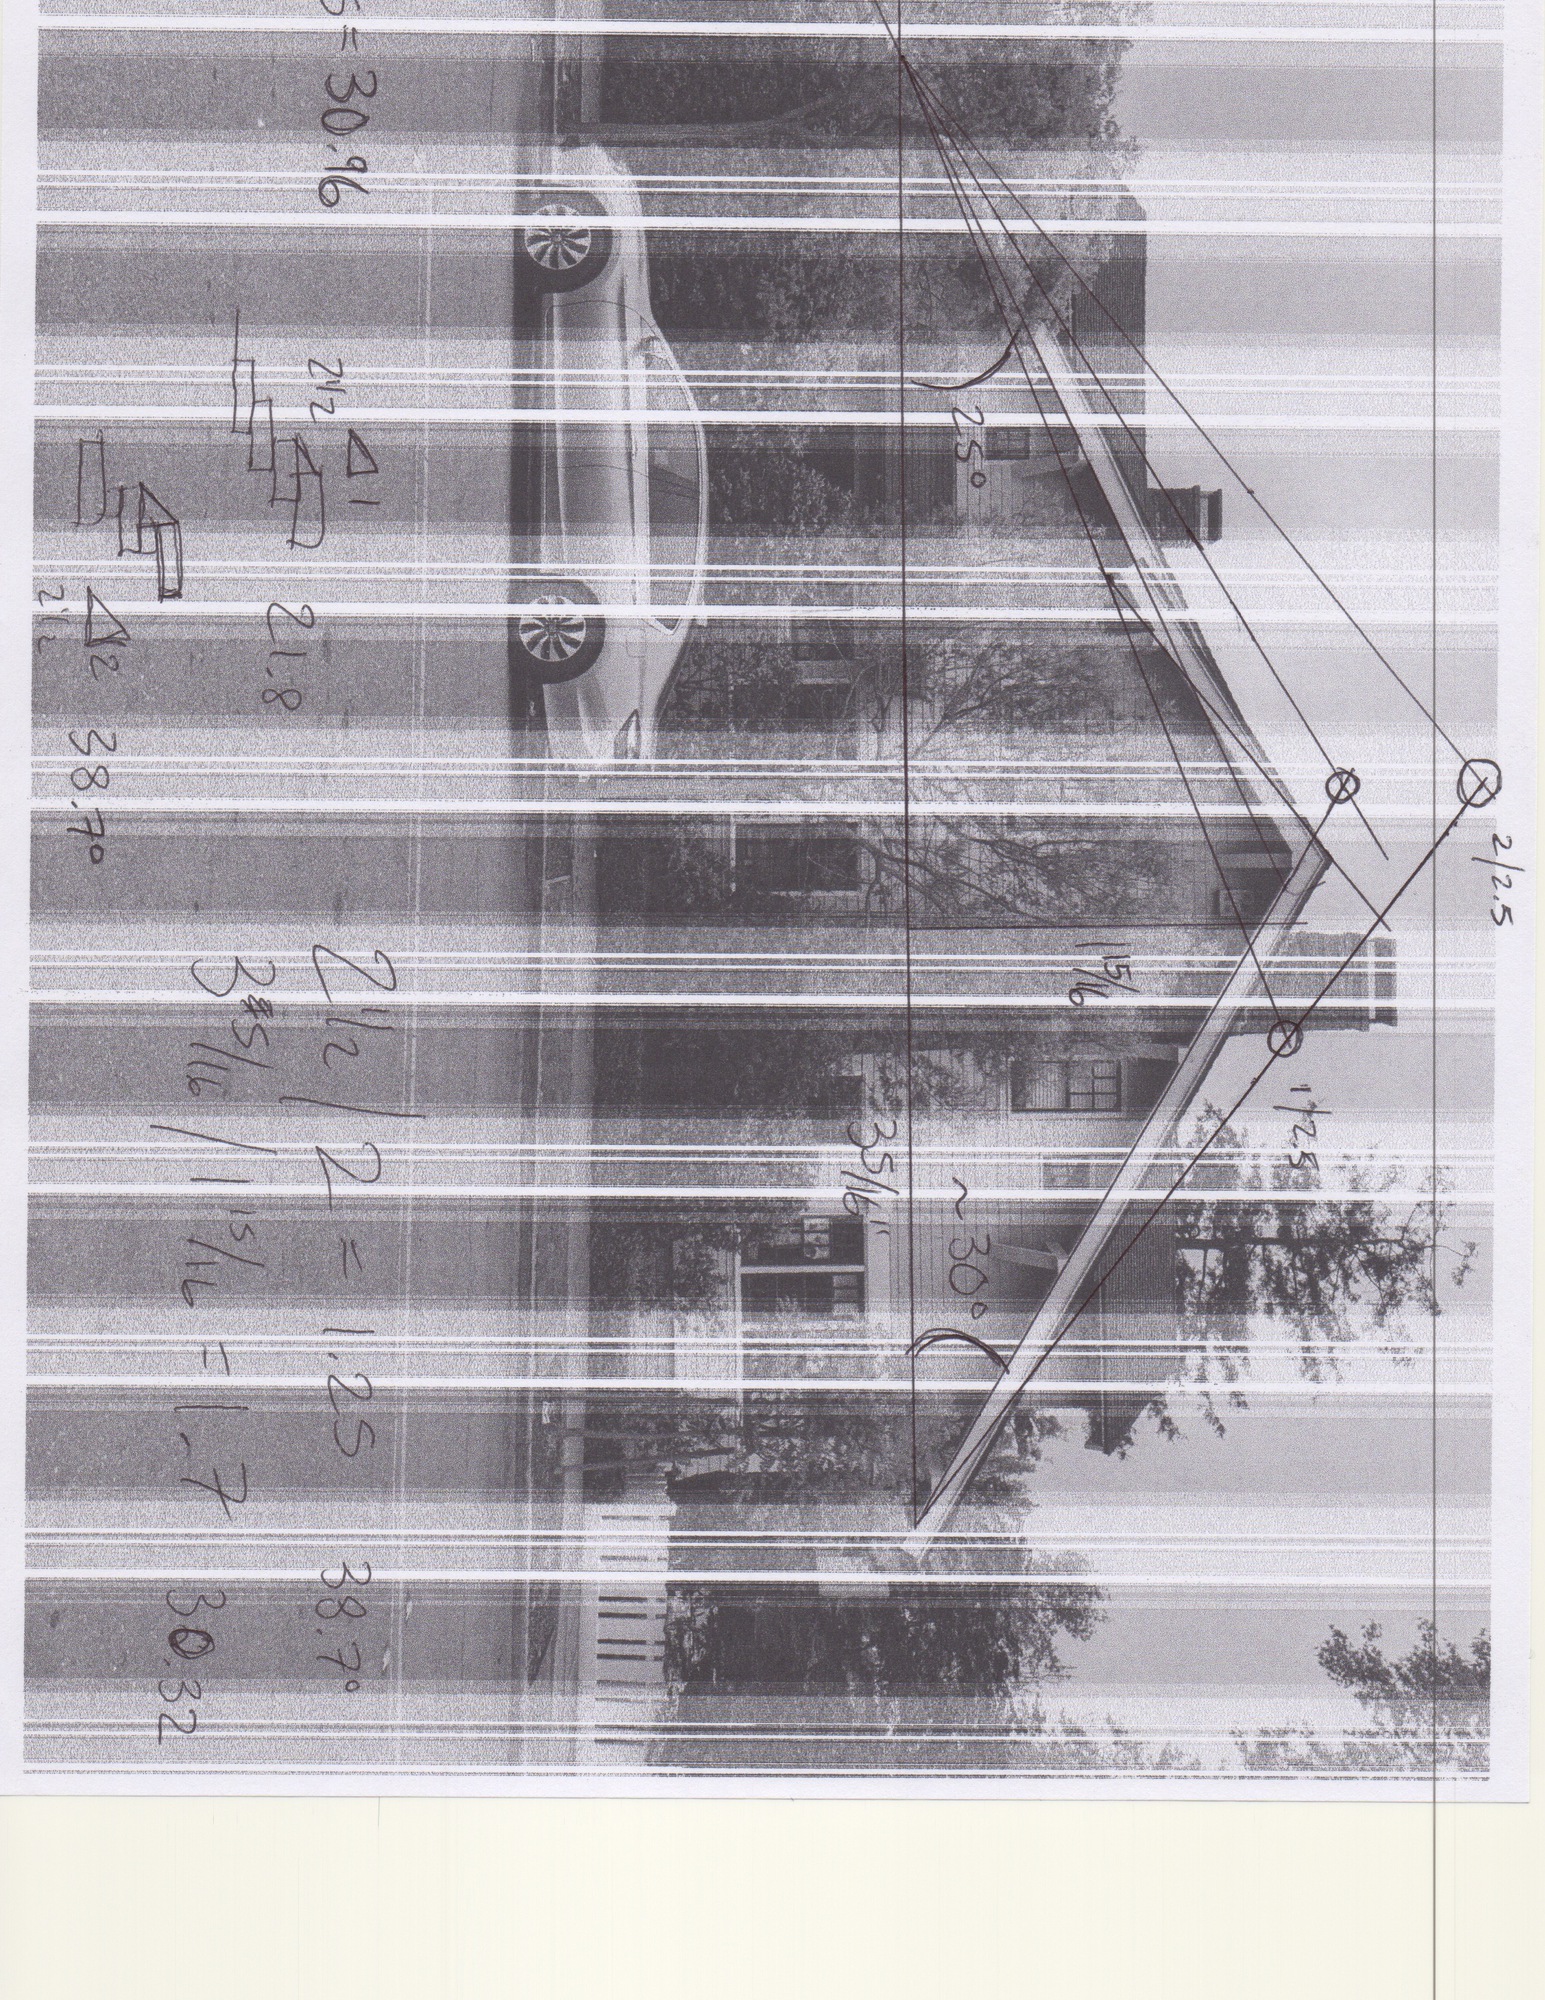
And in order for those interior rooms to be easily viewed, the roof had to be removable. All of this required creating a substantial Technic skeleton so that the roof structure could support its own weight. The skeleton also had to fit inside the space that makes up the attic in the real house. Because the roof is so long, and so much of the house exists above some part of the roof line, it was also important to get the roof angles almost exactly right. Making the roof slightly too steep causes the house to be absurdly tall; making it too shallow causes the attic the disappear entirely.

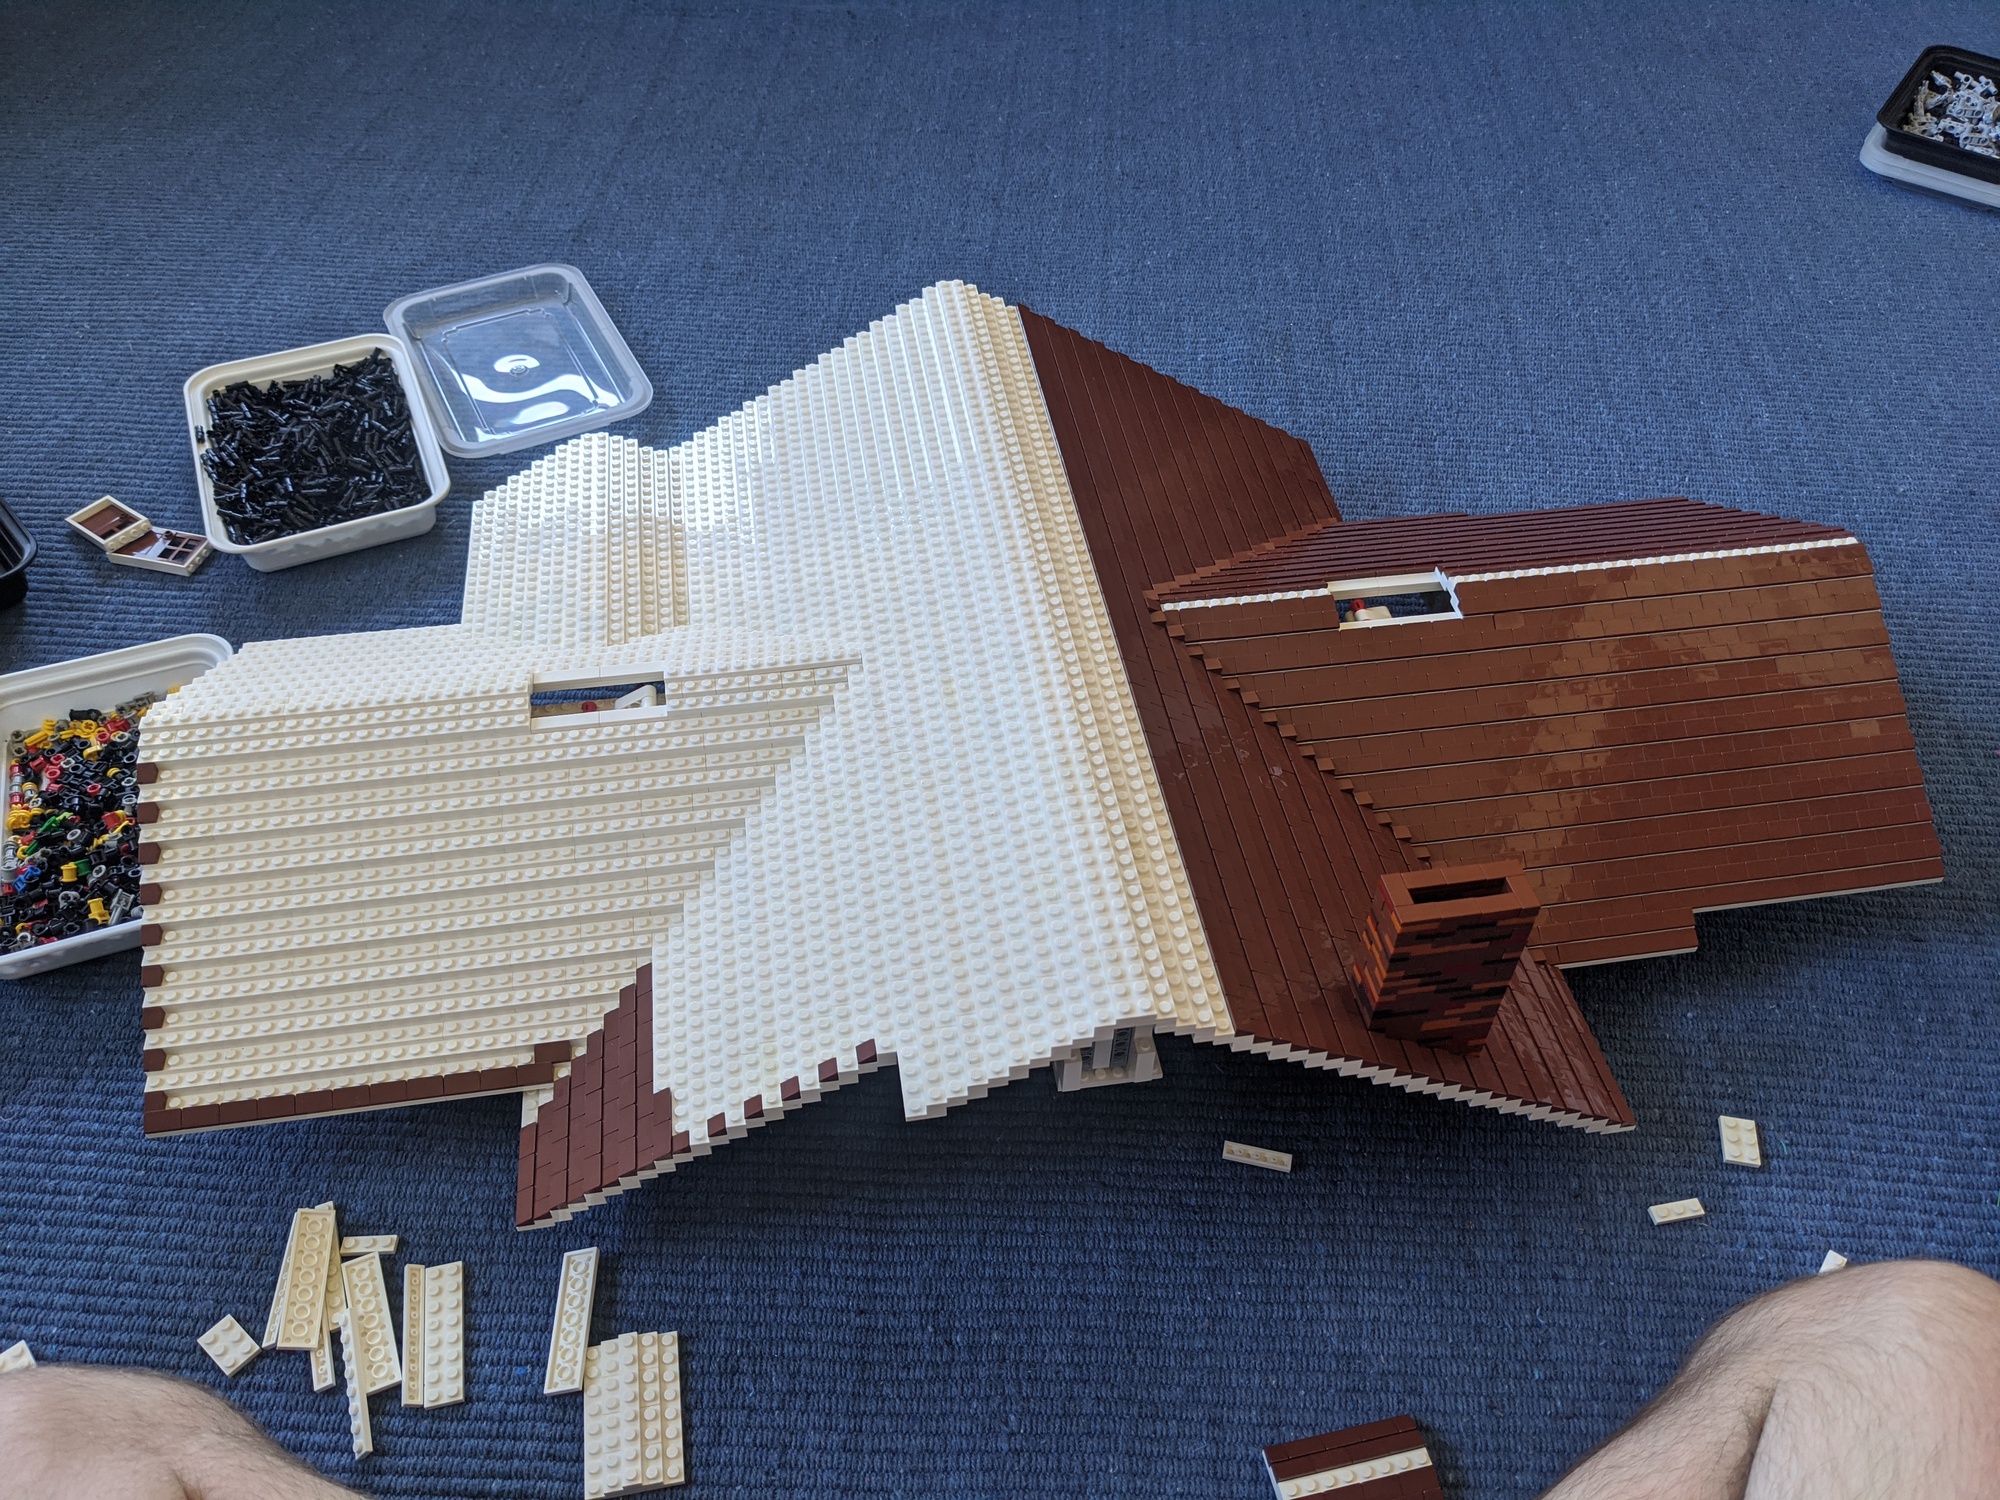

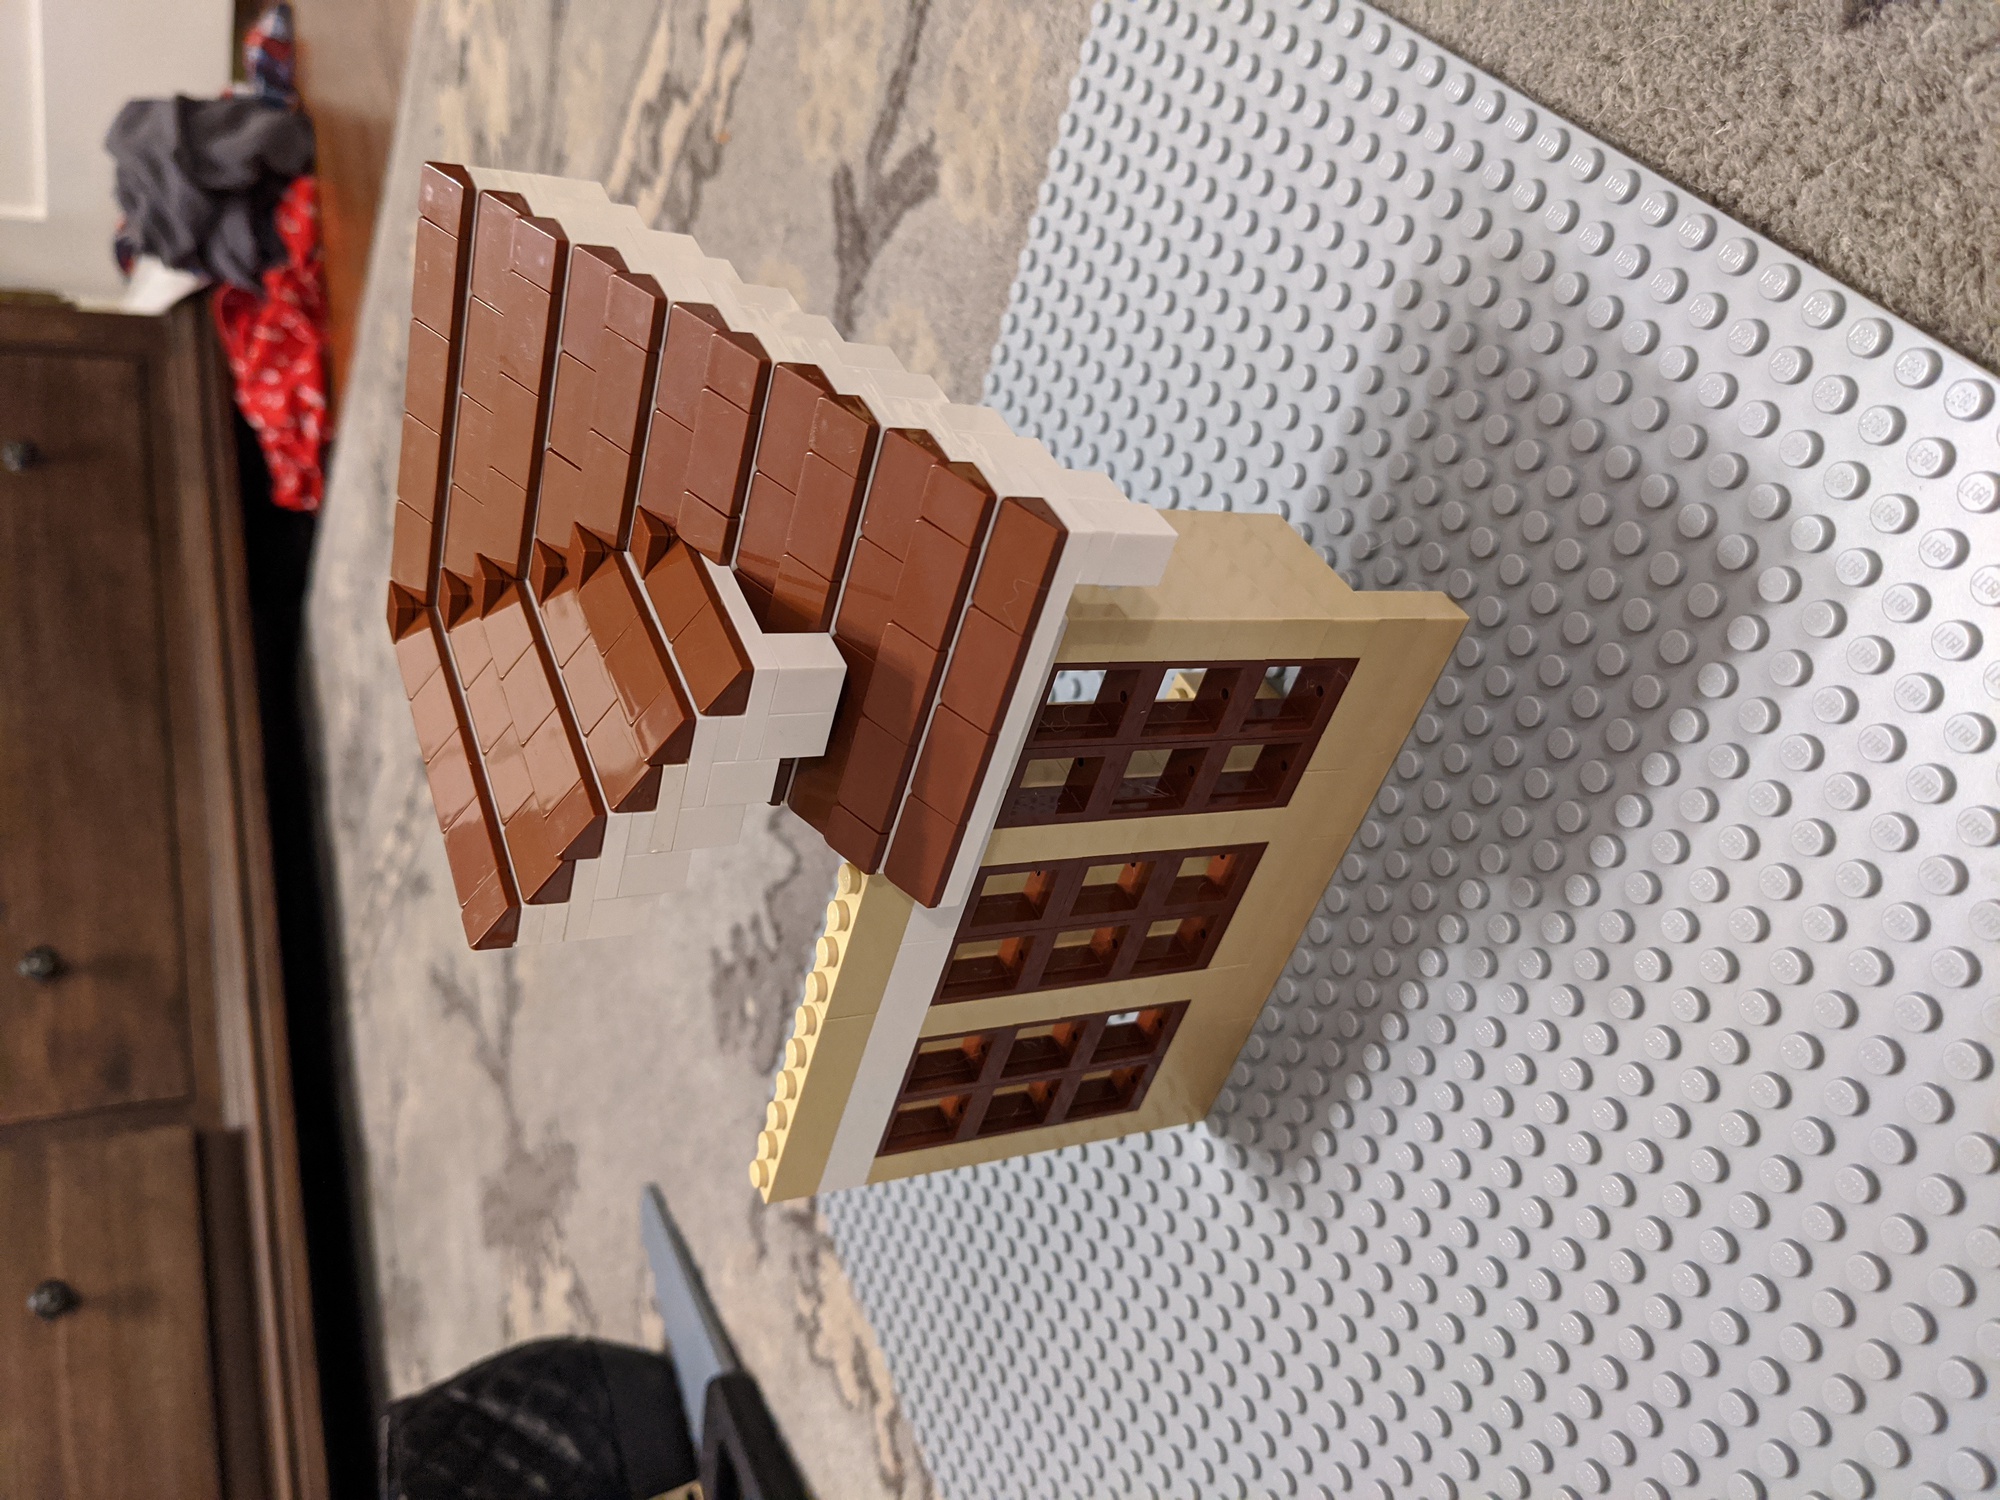
The roof is made up of stair-stepped plates with the steps alternating between one plate tall and two plates tall (this creates the appropriate angle) and is covered in a layer of 2/3 slope pieces. If I were doing this project again, I would give more serious consideration to using plates for the roof, laid at an angle and covered with (flat) tiles, instead of the a rectilinear approach. The roof detaches pretty easily, but it is quite heavy, and is challenging to re-seat on top of the house. There are two hatches in the roof that hide handles that connect directly to the skeleton–the roof is too heavy to pick up by its edge.
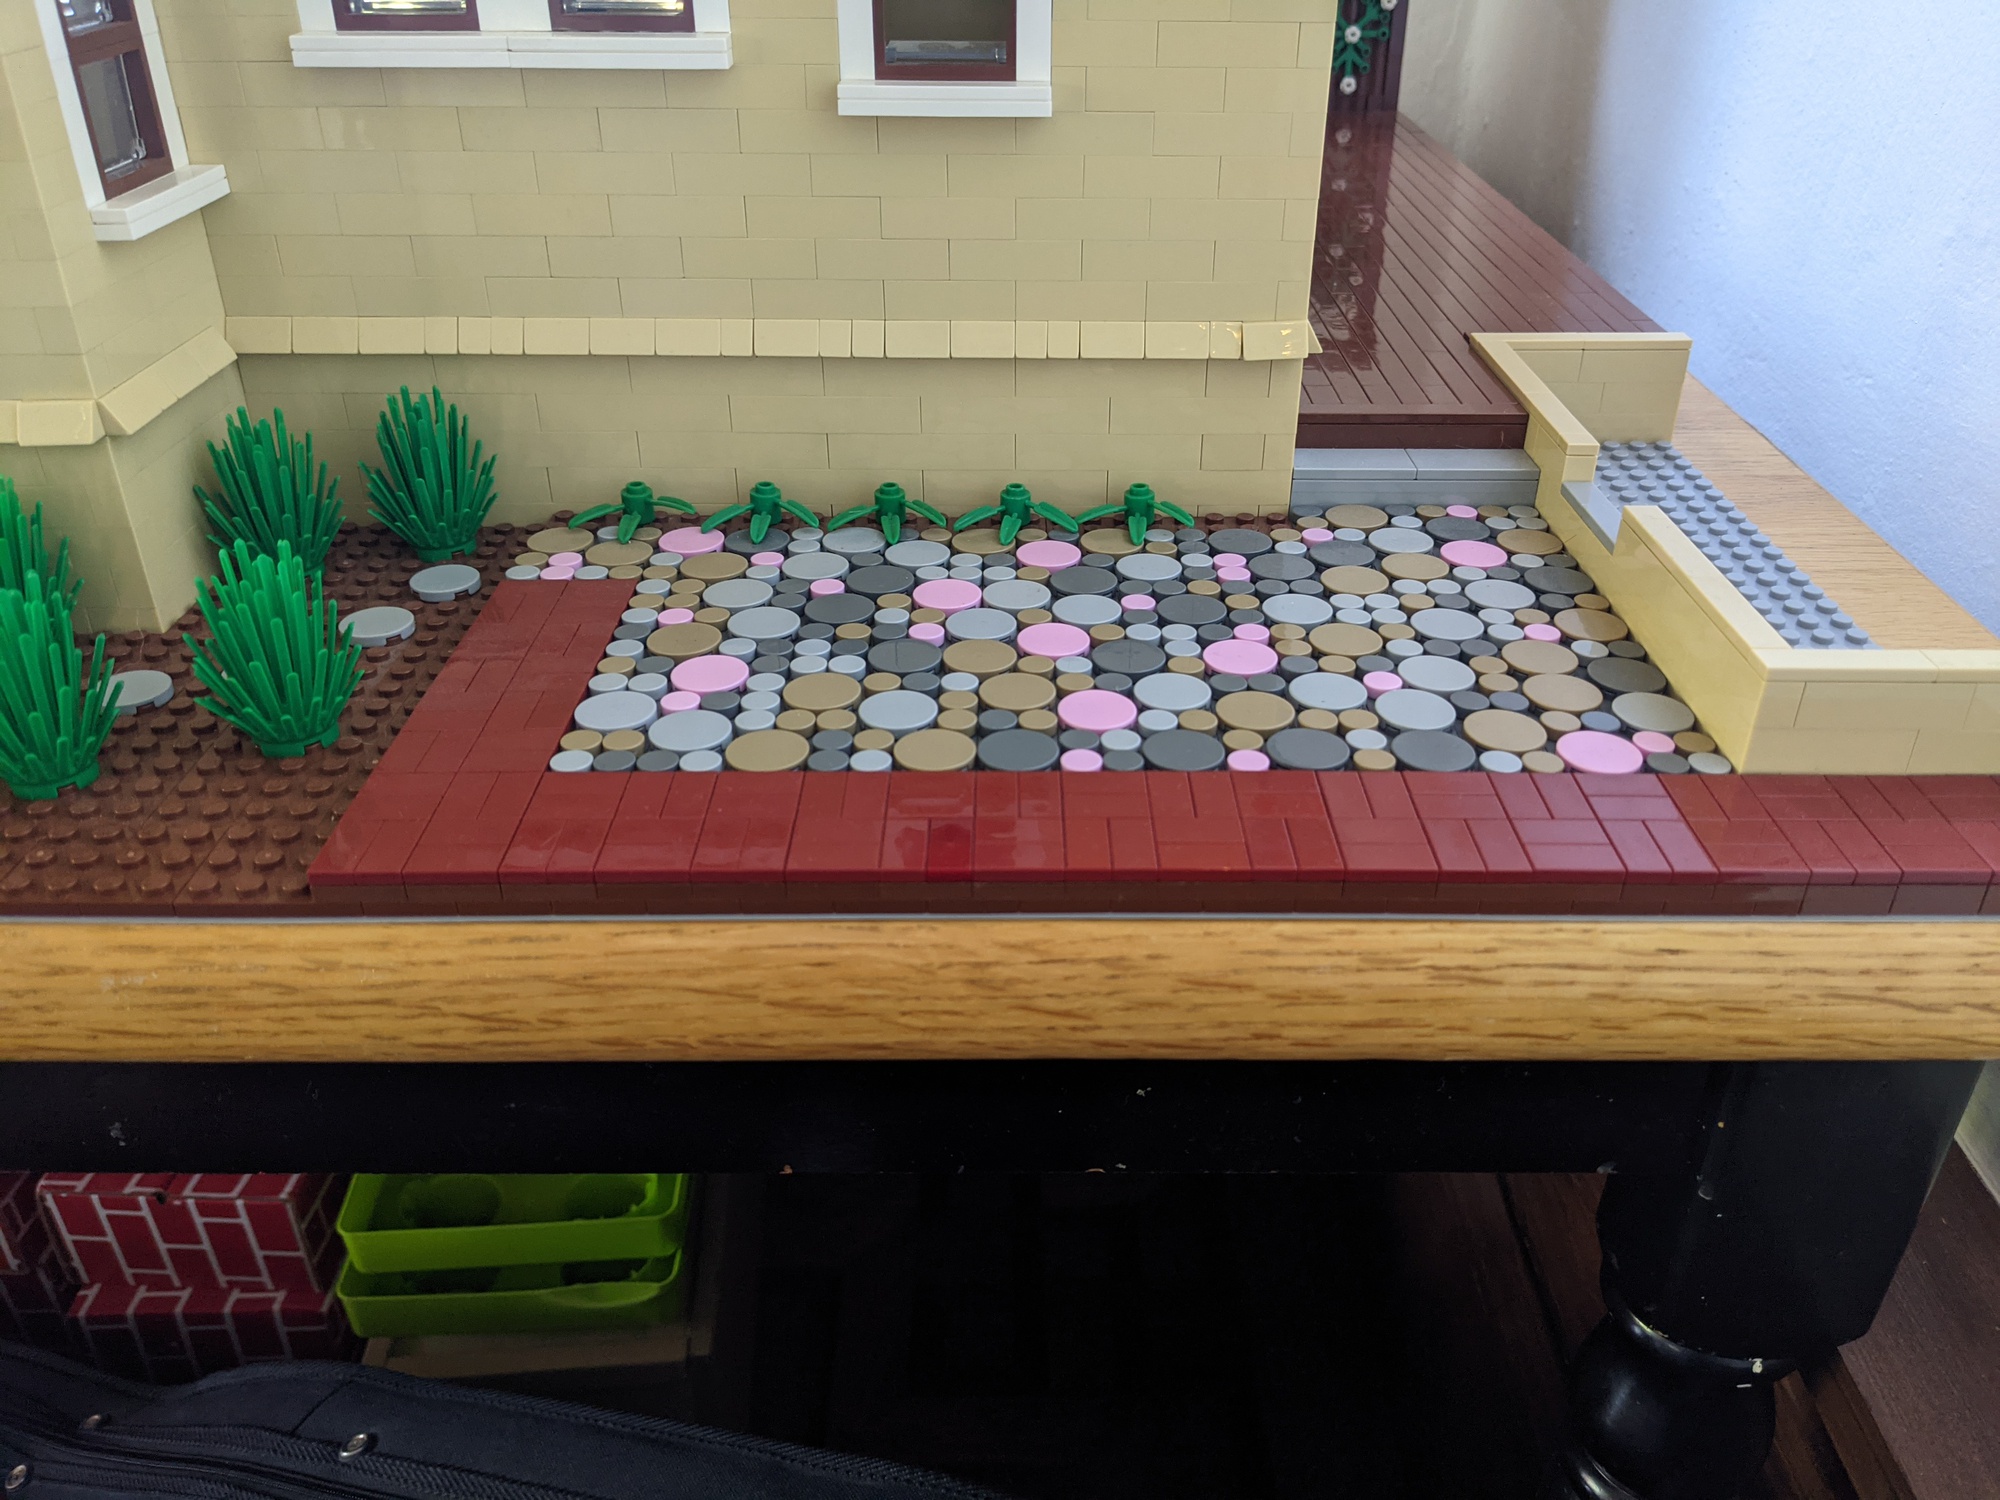
I built the house on top of six 48x48 stud baseplates (arranged in a 2x3 rectangle). I wasn’t initially sure if this would be the final base shape, but I ultimately decided to keep it. I expanded the real world area included in the model (e.g. the side walk, lawn, back yard, etc.) until it reached the edge of the baseplates. The baseplates had to be peeled off the bottom of the model in order for it to fit through one of the doors in our house on the way to its current display location on the first floor.
Besides keeping me entertained for several months, this project also helped me to understand the geometry of the house in a new way. It’s a fun display piece, and I’m very happy with how it turned out!